Installing a prehung door might sound like a daunting task—but with the right tools, a little patience, and this guide, you can transform any room in your home. Whether you’re upgrading your bathroom, improving your bedroom, or revamping your entire home, this project brings both style and functionality to your space. In this guide, we’ll walk you through how to install a prehung door, including:
- What a prehung door is and why it’s a great choice
- A step-by-step guide to installing a prehung door
- Pro tips to ensure a smooth installation process
🤔 What is a Prehung Door and Why Choose One?

A prehung door is a door that is already mounted on its frame, making installation easier for both professionals and homeowners. It comes as a complete package with hinges fastened, and often includes pre-cut holes for hardware like doorknobs.
Why choose a prehung door?
- Ease of installation: No need to build or assemble the frame separately—it’s ready to go.
- Perfect alignment: Hinges are already in place for precise alignment.
- Time-saving: Ideal for large renovations or projects with tight deadlines.
Prehung doors are a perfect solution for homeowners aiming to save time and enjoy a hassle-free update.
👉 8 Step Guide to Install a Prehung Door
Installing a prehung door can save time and effort compared to hanging a door slab, as it comes with the frame already attached. This guide will help you achieve a precise fit and a professional finish, ensuring your door functions properly.
Tools You’ll Need
Before jumping into the process, gather these essential tools:
- Tape measure
- Level
- Hammer
- Screwdriver or drill
- Wood shims
- Pry bar
- Utility knife
- Nail set
- Caulk and caulking gun
- Finish nails or screws
Having everything on hand before you start will ensure a smooth and efficient installation process.
1. Measure the Door Opening
The first and most important step in installing a prehung door is to measure the door opening accurately. Precise measurements will ensure a smooth installation process and prevent unnecessary adjustments later. Start by measuring the height and width of the rough opening to confirm that it will accommodate your prehung door. Use a tape measure to get exact dimensions, and take note of any irregularities. Next, check if the sill is level by using a spirit level. To determine if the opening is square, measure diagonally from one corner of the opening to the opposite corner. If the measurements are equal, your opening is square. If the dimensions are slightly off, don’t panic—this is common, and shims can be used during installation to correct alignment and ensure a proper fit.
2. Prepare the Rough Opening
Before placing the prehung door, it’s crucial to prepare the rough opening to ensure a secure and stable fit. Begin by removing any old door frames, nails, or debris that might obstruct the installation. Use a crowbar or hammer as needed, but be careful not to damage the surrounding wall. Once the area is clear, inspect the framing for any signs of damage, such as cracks, rot, or warping. If you find any issues, address them immediately by replacing or repairing the affected areas. A clean, sturdy, and damage-free rough opening provides a solid foundation for the new door and prevents future problems like sagging or misalignment.
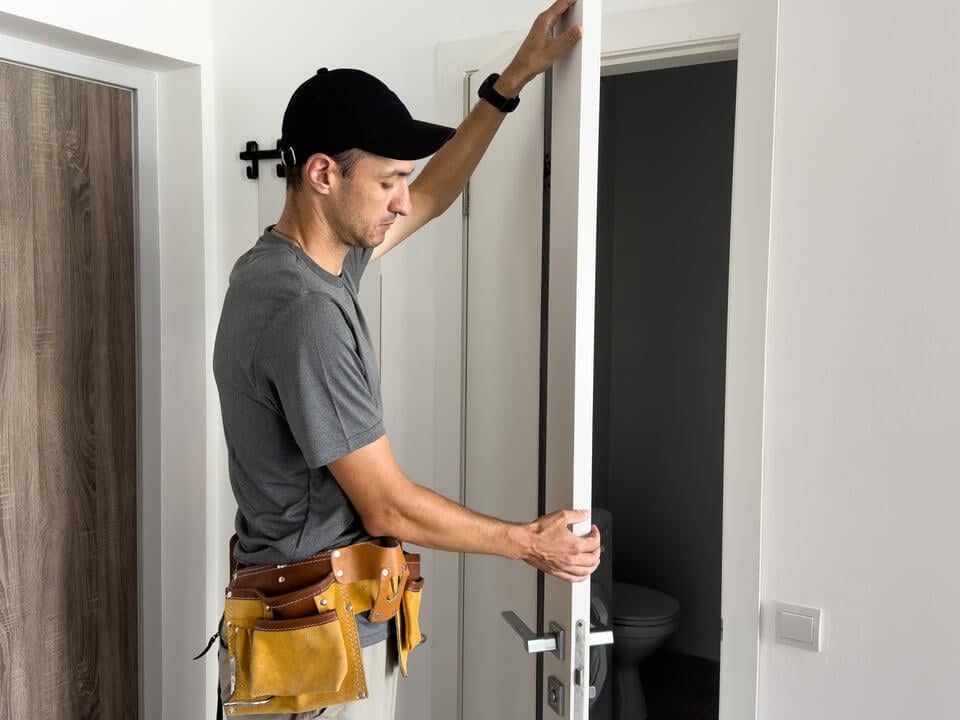
3. Position the Door in the Opening
With the rough opening prepared, it’s time to position the prehung door. Carefully lift the prehung door and place it into the rough opening while keeping the door itself closed. Take care to center the door within the opening so that there is an even gap on all sides. This step requires a bit of precision, as an uneven placement can cause the door to function improperly. Additionally, check that the bottom edge of the door, or the sill, is aligned with the flooring. Ensuring proper placement at this stage will make the rest of the installation process much easier.
4. Shim the Frame
Shims are small, tapered pieces of wood or plastic that help you fine-tune the alignment of the door within the rough opening. Start by inserting shims between the door frame and the rough opening at the hinge locations. Place the shims carefully to ensure that the frame remains straight and stable. Use a level to check that the door is plumb, meaning it is perfectly vertical. Adjust the shims as needed to correct any misalignment and ensure the door sits evenly within the opening. Don’t forget to shim the area around the strike plate, as this will contribute to the door’s overall functionality. Taking the time to properly shim the frame will prevent issues like sticking or uneven gaps later on.
5. Secure the Frame
Once the door is properly aligned and shimmed, the next step is to secure the frame to the rough opening. Begin by driving screws or nails through the hinge-side jamb into the wall studs. This side is critical because it supports the weight of the door. After securing the hinge side, move to the latch-side jamb and fasten it as well. However, before fully tightening the screws or nails, double-check the alignment of the door to make sure the gaps around the door are even and the door swings freely. Confirming these details before finishing will save you from making further adjustments later.
6. Check Door Functionality
With the frame secured, it’s important to test the functionality of the door. Open and close the door several times to ensure it operates smoothly. Check that the door swings freely without sticking or rubbing against the frame. Inspect the gaps along the edges of the door to confirm that they are even and consistent. If you notice any issues, such as uneven gaps or restricted movement, now is the time to make adjustments. Fine-tuning the alignment at this stage will help you avoid complications once the installation is complete.
7. Install the Trim
The next step is to install the trim or casing, which covers the gap between the door frame and the wall, giving the installation a polished, finished look. If you removed old trim during the preparation step, you can reattach it or opt for new casing that matches your interior design. Use a nail gun or finish nails to secure the trim neatly without damaging the frame or wall. If there are any visible gaps between the trim and the wall, fill them with caulk for a seamless appearance. Taking care with the trim installation ensures a clean and professional finish.
8. Final Touches
The final step is to add the finishing touches to your new prehung door. Install the doorknob, latch, or any other hardware into the pre-drilled holes provided in the door. Follow the manufacturer’s instructions for hardware installation to ensure everything fits securely and functions properly. If desired, apply a coat of paint or stain to the door and trim to match your interior décor and protect the wood. Once everything is in place, your new prehung door is ready to use, adding both style and functionality to your home. Enjoy the satisfaction of a job well done!
💡 Pro Tips for a Smooth Installation
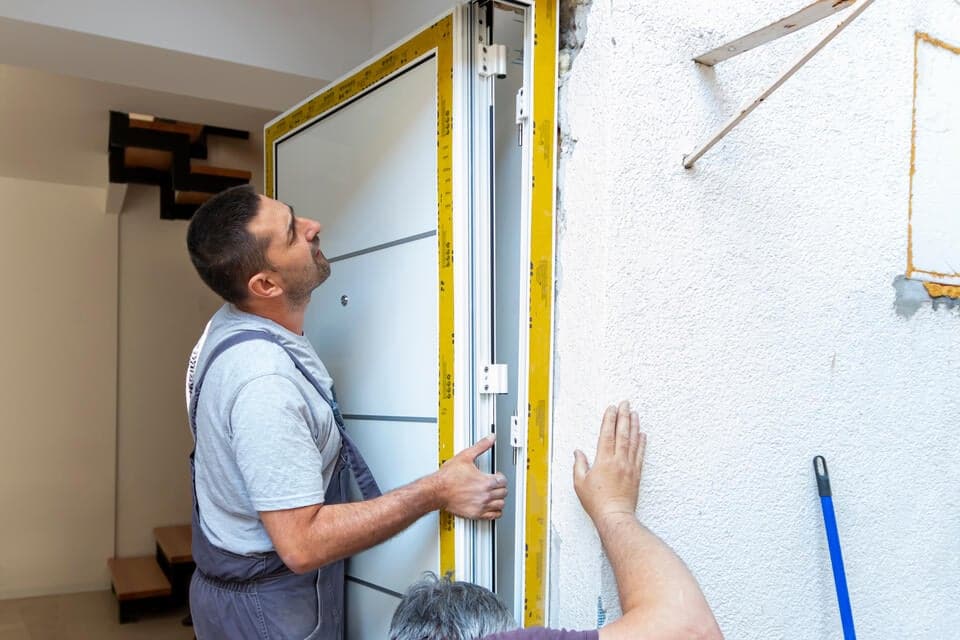
Tip 1: Use a helper to hold the door steady while leveling and shimming.
Installing a door is much easier with an extra set of hands. A helper can hold the door in place as you level it, ensuring it’s perfectly straight and aligned. This also allows you to focus on adding shims with precision to fill any gaps and provide stability without the risk of the door shifting.
Tip 2: Double-check the door swing direction before securing hinges.
Before attaching the hinges, take a moment to confirm the door swing direction matches your intended layout. This quick check can save you from the frustration of having to remove and reattach hardware later. Properly positioning the door ensures it opens and closes seamlessly, avoiding obstructions in the space.
Tip 3: Have extra shims on hand to adjust for irregular wall openings.
Walls aren’t always perfectly even, and you may encounter gaps or uneven surfaces during installation. Having additional shims nearby allows you to make small adjustments on the spot, ensuring the door sits securely and operates smoothly. It’s always better to have more than you need to avoid unnecessary delays.
🙌 Seamless Prehung Door Installation with Louisville Window Company
At Louisville Window Company, we understand that installing a prehung door can seem daunting, but we’re here to help make the process as seamless as possible. With years of expertise and a commitment to quality, our team is ready to guide you every step of the way, ensuring your project is completed to the highest standard. Whether it’s a bathroom door or any other door in your home, we take pride in delivering reliable solutions that combine functionality and style. Trust us to bring your vision to life with precision and care. Contact us today for a consultation and discover how we can make your home improvement projects stress-free!