Installing a new exterior door may seem like a daunting DIY project, but it’s more achievable than you might think. With the right tools, steps, and guidance, you can transform your home’s entrance with a well-installed, secure, and weather-resistant door. This guide will walk homeowners through how to install an exterior door, including:
- The importance of properly installing an exterior door
- Steps to install an exterior door
- Tips for ensuring proper fit and alignment
🏠 The Importance of Properly Installing an Exterior Door
A properly installed exterior door plays a critical role in your home’s functionality, comfort, and safety. It serves as the first line of defense, offering security against intruders while protecting your home from harsh weather conditions. A well-installed door also enhances energy efficiency by creating a tight seal that prevents drafts, reducing heating and cooling costs over time. Additionally, a visually appealing and well-functioning door boosts curb appeal, adding value to your property. Without professional installation or careful attention to detail, doors may develop misalignments, gaps, or operational issues that can compromise their effectiveness and longevity.
Signs You Need to Replace an Exterior Door
Recognizing when it’s time to replace your exterior door is essential for maintaining your home’s security and efficiency. Here are some key signs to watch for:
- Visible damage or wear: Cracks, warping, or rotting are clear indicators that a door has reached the end of its lifespan.
- Difficulty opening or closing: If the door sticks, scrapes the floor, or doesn’t latch properly, it may have structural issues or frame misalignments.
- Drafts or energy inefficiency: Feeling air leaks around the edges of the door is a sign of poor insulation that could increase your energy bills.
- Moisture or water damage: Noticeable water stains, mold, or swelling often indicate that the door is no longer weather-resistant.
- Outdated appearance: An older, worn-down door can detract from your home’s overall aesthetic and may be worth replacing for a fresh look.
Addressing these signs promptly will ensure your home remains secure, energy-efficient, and visually appealing.
🛠️ 6 Steps to Install an Exterior Door
Follow these detailed steps to install your exterior door like a pro. This guide assumes you’ve already purchased your new door, complete with the frame, and that it matches the measurements of your existing door opening.
What You’ll Need
Setting yourself up for success starts with preparation. Before you begin, gather the following tools and materials:
Tools:
- Measuring tape
- Hammer and nails
- Screwdriver (manual or electric)
- Level
- Pry bar
- Caulking gun
Materials:
- New exterior door and frame
- Shims
- Screws
- Weatherstripping
- Exterior caulk
Having everything ready will save you multiple trips to the hardware store and ensure a smooth installation process.

1. Remove the Old Door and Frame
Start by removing the existing door. Use a screwdriver or a drill to take out the screws from the hinges. Once the screws are removed, carefully lift the door away from the frame and set it aside. Next, turn your attention to the old door frame. Using a pry bar, gently detach the frame from the wall. Be careful not to damage the surrounding wall or trim during this process. You’ll also need to remove the threshold, which may require additional effort if it’s glued or nailed in place. It’s essential to clean up thoroughly after removing the frame—get rid of any old caulking, nails, or debris. Additionally, check for any rotted or damaged wood in the surrounding structure and replace or repair it if necessary to ensure a solid foundation for your new door.
2. Prepare the Door Opening
Before installing your new door, you need to ensure the opening is ready. Measure the width, height, and depth of the opening to confirm it matches the dimensions of your new door and frame. Accurate measurements are crucial for a proper fit, so double-check your numbers. Once measured, clean the edges of the opening thoroughly, removing any residual caulk, debris, or wood splinters. Inspect the area for signs of rot, water damage, or structural issues. If you notice any problems, such as weakened studs or gaps, take the time to repair them before moving forward. A clean, well-prepared opening will make the installation process much smoother and ensure the longevity of your new door.
3. Install the New Door Frame
With the old frame removed and the opening prepared, it’s time to position the new door frame. Carefully lift and place the frame into the opening, ensuring it is centered as best as possible. Use wooden shims to make adjustments, placing them on both sides of the frame and along the top. These shims will help you align the frame, making sure it is level, plumb, and square. Use a level to verify the alignment, as even slight misalignments can cause issues with the door’s functionality. Once the frame is positioned correctly, use nails or screws to temporarily hold it in place. This step allows you to make any final adjustments before securing it permanently.
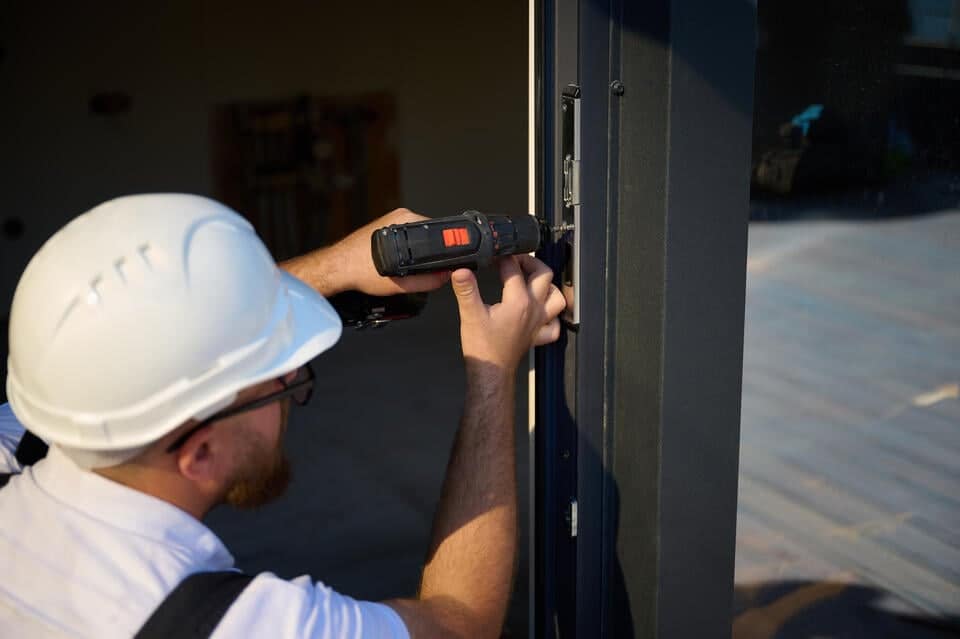
4. Secure the Door Frame Permanently
After checking and confirming the alignment of the frame, it’s time to secure it permanently. Drive screws through the areas supported by the shims and into the studs of your wall. Start with the sides and then move to the top, securing the frame evenly. Be cautious not to overtighten the screws, as this could warp the frame. Once the frame is firmly attached, open and close the door to test its swing. The door should move smoothly without sticking or dragging. If needed, adjust the shims to fine-tune the alignment, ensuring an even gap around the edges of the door and a proper seal when it’s closed.
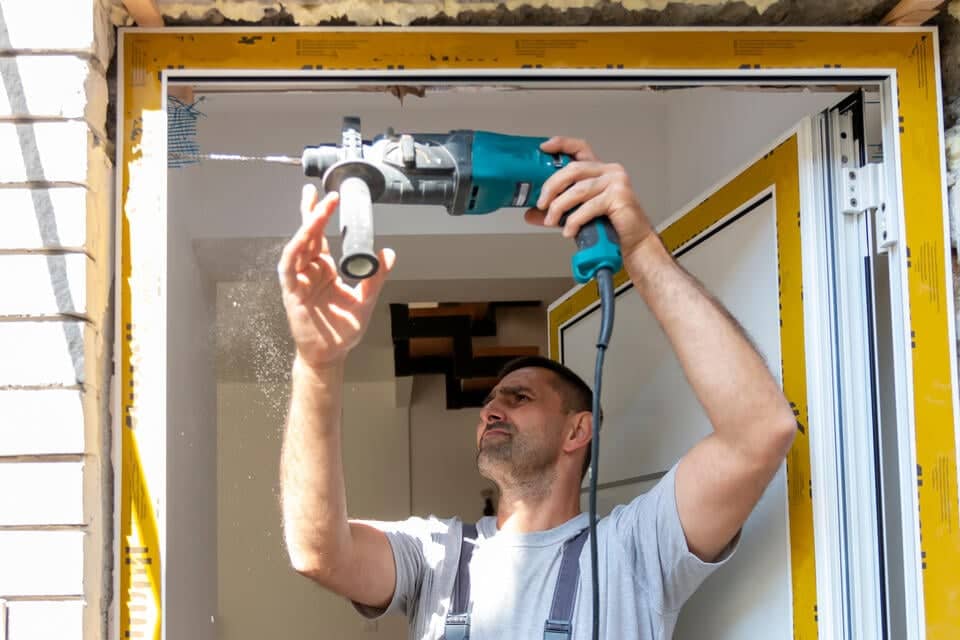
5. Add the Exterior Finishing Touches
With the frame and door securely in place, it’s time to focus on the finishing touches that will enhance both the appearance and functionality of your new door. Start by applying weatherstripping along the inside edges of the door frame. Weatherstripping creates a tight seal, helping to block drafts and improve energy efficiency. Next, use a caulking gun to apply waterproof sealant around the exterior edges of the door frame. This step is crucial for preventing water from seeping into the wall structure, which could cause damage over time. Smooth the caulk with your finger or a tool to ensure a clean, even finish. These finishing touches not only protect your home but also give the installation a polished and professional look.
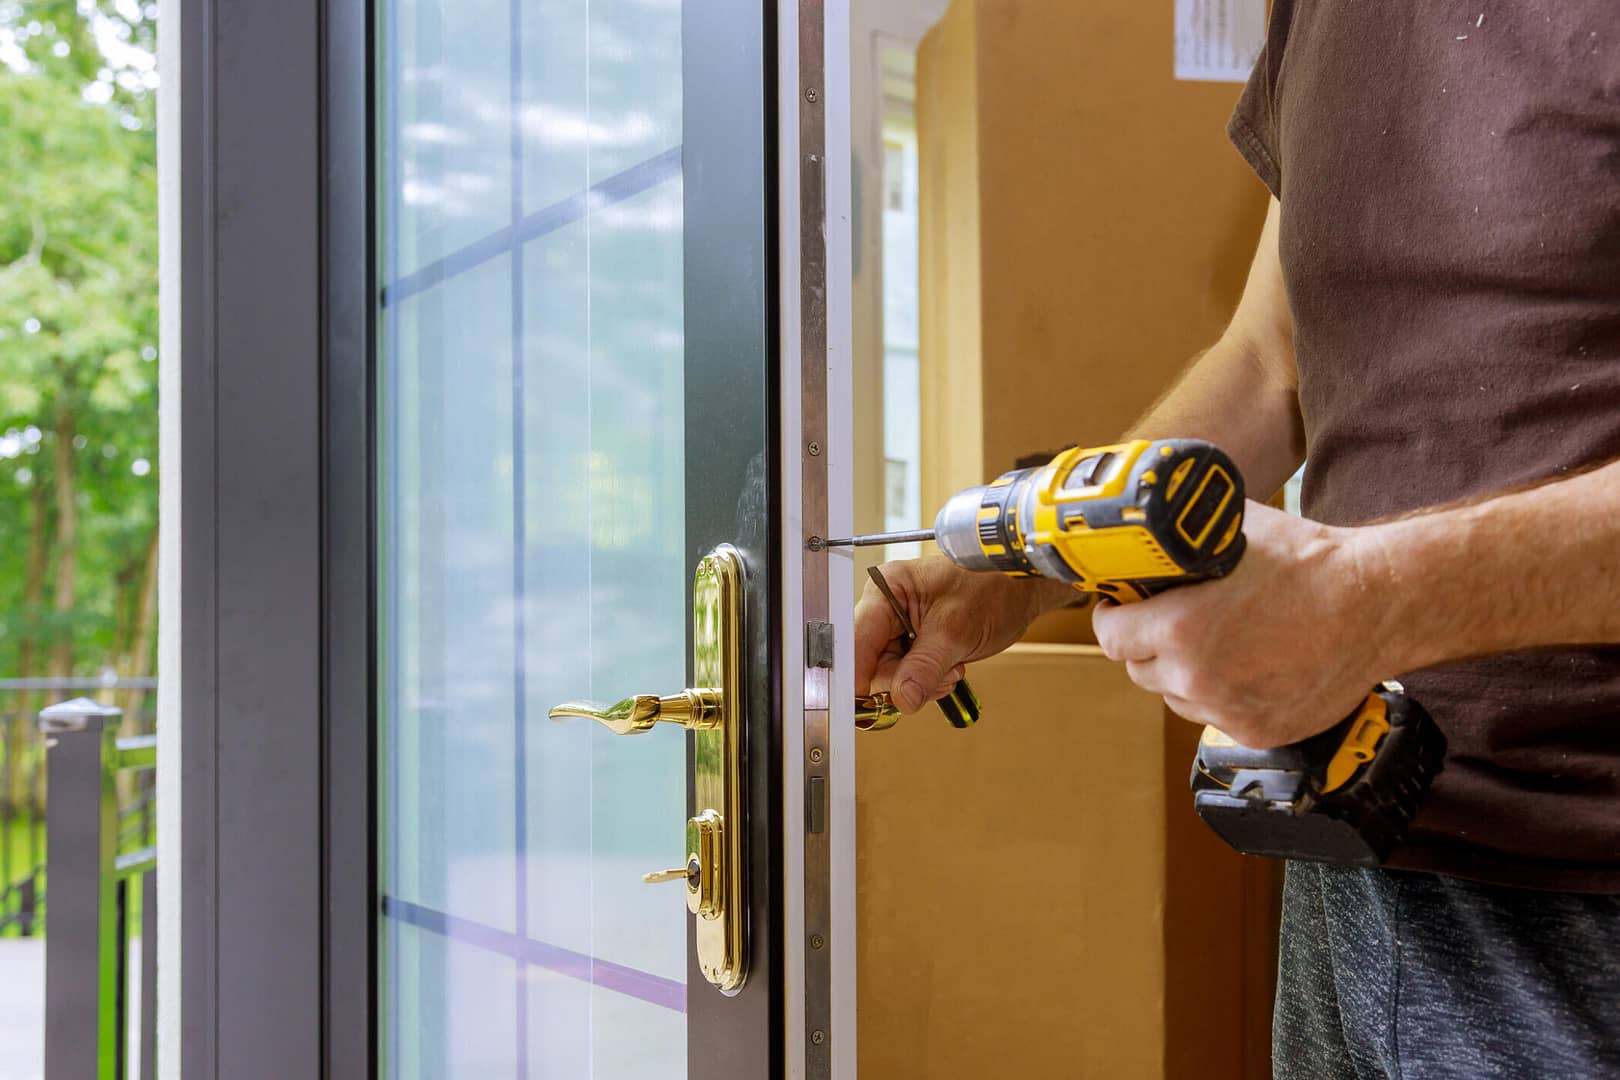
6. Install the Lock and Handle
The final step is to install your chosen door hardware, including the lock and handle. Follow the manufacturer’s instructions carefully, as hardware designs can vary. Begin by aligning the components, such as the latch, strike plate, and handle, with the pre-drilled holes in your door. Attach them securely using the provided screws, making sure everything fits snugly. Once installed, test the lock and handle to ensure they function properly. The key should turn smoothly, and the latch should engage and disengage without any resistance. If adjustments are required, make them as needed until everything operates seamlessly.
💡 Tips for Ensuring Proper Fit and Alignment
A bad fit can compromise your door’s security and energy efficiency. Here are some tips to ensure yours is properly aligned:
- Check level and alignment multiple times: Use a level to ensure the frame is perfectly straight, and adjust shims as needed to prevent the door from sticking or sagging over time. Small misalignments can lead to bigger problems later.
- Weatherproof thoroughly: Seal all gaps around the door with weatherstripping or caulk to block drafts and prevent moisture from entering, which could damage the frame or increase energy costs.
- Test door functionality repeatedly: Open and close the door several times while securing the frame to ensure it swings smoothly and locks correctly. This helps catch and fix minor misalignments early in the process.
These extra steps only take a few moments but make a big difference in the quality and longevity of your installation.
🙌 Upgrade Your Home with Expert Exterior Door Installation!
Installing an exterior door can be a straightforward project with the right tools, patience, and attention to detail. However, when it comes to ensuring flawless installation, energy efficiency, and long-lasting durability, the team at Louisville Window Company is here to help. With years of experience and a commitment to top-notch craftsmanship, we take the stress out of your home improvement projects. Whether you’re upgrading your entryway or tackling a complete renovation, you can trust our team to deliver results you’ll love. Contact Louisville Window Company today for a free consultation and see how we can bring your vision to life!