Installing new construction windows can seem intimidating, but with the right approach, it’s an achievable project that enhances your home’s value, energy efficiency, and aesthetic appeal. Whether you’re building a new home, remodeling, or replacing old windows, correct installation is crucial for long-lasting results. This guide will break down the process, taking you from preparation to execution. Here’s what we’ll cover:
- Preparing for installation
- How to install new construction windows, step-by-step
- Key tips for sealing and finishing
🛠️ Preparing for Installation
Proper preparation is essential when installing windows in a new construction home. Taking the time to plan ahead can save you time, money, and potential headaches down the road. A well-prepared installation ensures your windows are securely fitted, perform efficiently, and complement your home’s design. Whether you’re handling the installation yourself or working with professionals, preparation is key. Here’s what to do:
- Measure the rough openings accurately, recording height, width, and depth, and confirm they align with the manufacturer’s specifications.
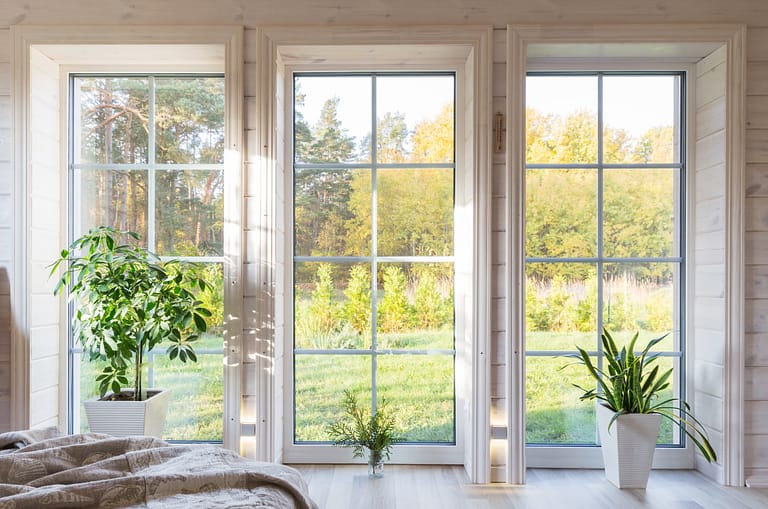
- Select windows that fit your home’s architectural style and meet your functional needs, with options like double-hung or casement windows from trusted brands such as Pella and ProVia.
- Gather the necessary tools and supplies, including new construction windows, measuring tape, level, screwdriver or drill, shims, flashing tape, caulk, and insulation foam.
- Organize all tools and materials on-site to ensure an efficient and seamless installation process.
✅ 7 Steps to Install New Construction Windows in a New Build
Proper installation is key to ensuring your new construction windows enhance comfort, energy efficiency, and longevity. Follow these steps specifically designed for new construction installations:
1. Prepare the Framed Opening
Before installing your new construction window, it’s crucial to properly prepare the framed rough opening. This ensures a secure fit and helps avoid long-term issues. Start by inspecting the opening for cleanliness—remove any debris, sawdust, or loose materials that could interfere with the installation. Use a level to check that the sill is even and completely horizontal. If you find any uneven spots, adjust them using shims until the sill is perfectly level. Also, examine the framing for structural integrity—if you notice any rot, cracks, or other problems, address them before continuing. A clean, level, and well-prepared opening is the foundation for a successful, long-lasting window installation.
2. Apply Flashing Tape
Flashing tape is a critical step in creating a water-resistant barrier to protect your home from moisture damage. Begin by applying flashing tape to the bottom of the rough opening, extending it a few inches up the sides to give your window extra protection where it’s most needed. Press the tape firmly as you go to eliminate any air bubbles or gaps, ensuring a tight seal. This step prevents water from seeping into the frame, which can lead to rot, mold, or structural deterioration over time. Proper flashing is essential to maintaining the durability and weather resistance of your new window, especially in areas prone to heavy rain or high humidity.
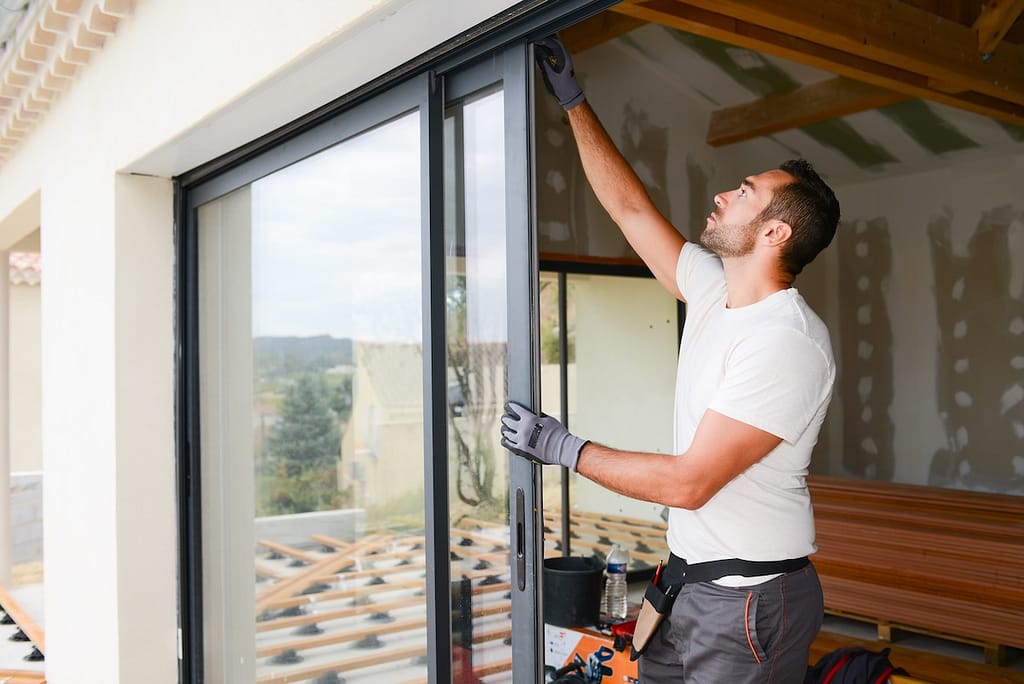
3. Set the Window in Place
Once the opening is prepared and flashed, it’s time to position the window. Carefully lift the new construction window and set it into the framed opening. Align the nailing flange flush with the exterior sheathing of the house to ensure a secure fit. Use a level to check that the window is plumb (vertically straight) and square (aligned at perfect 90-degree angles). If you notice any misalignment, make adjustments using shims until the window is perfectly positioned. Proper alignment at this stage is crucial—it not only ensures the window looks good but also prevents operational issues like sticking or difficulty opening and closing.
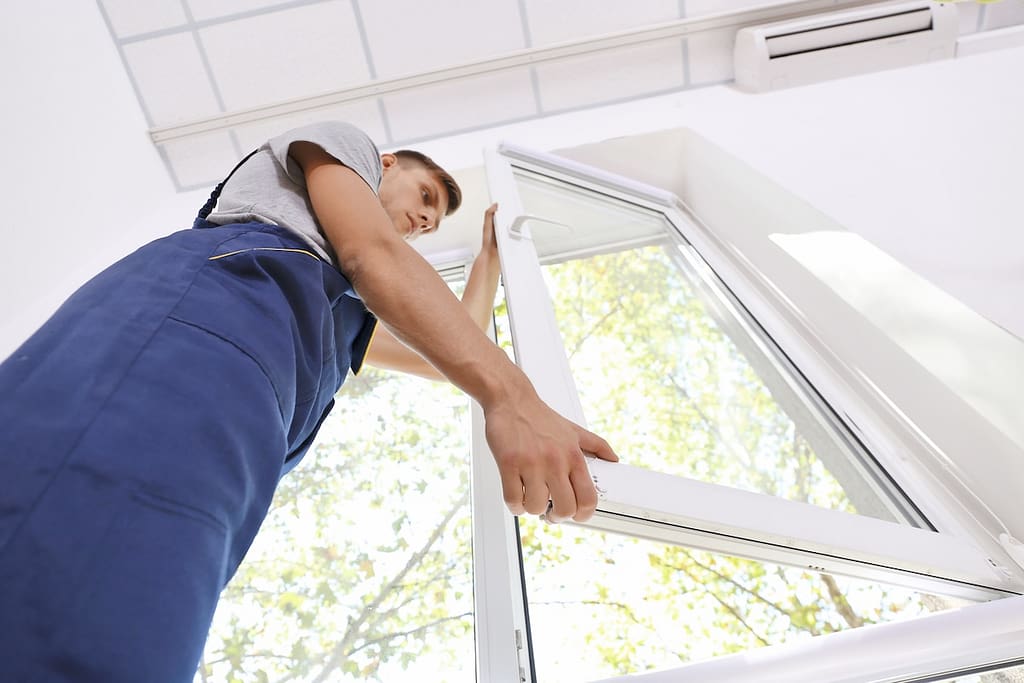
4. Secure the Window to the Framing
With the window correctly positioned, the next step is to secure it to the framing. Start by driving screws or nails through the holes in the nailing flange, beginning with the top corners to hold the window firmly in place. Once the corners are secured, continue fastening evenly along the sides and bottom, making sure not to overtighten to avoid bending or warping the frame. Pause periodically to check that the window remains square and plumb throughout the process. Securing the window properly is key to preventing drafts, leaks, and structural issues in the future.
5. Seal the Window Exterior
After the window is secured, it’s time to seal the exterior to protect your home from the elements. Apply flashing tape over the nailing flange, covering all edges to create a watertight seal. Start at the bottom and work your way up the sides, finishing with the top to ensure proper water shedding. Once the flashing tape is applied, seal the edges of the window frame with a bead of exterior-grade caulk where it meets the wall. Use a caulking tool or your finger to smooth the caulk, creating a clean, professional finish. Proper sealing prevents water infiltration and protects your home from long-term damage caused by exposure to rain, wind, or snow.
6. Insulate Around the Frame
Insulation is a critical step for improving energy efficiency and preventing air leaks. Fill any gaps between the window frame and the rough opening with low-expansion foam specifically designed for windows and doors. This type of foam expands minimally, reducing the risk of distorting the frame. Apply the foam carefully, ensuring it evenly fills all spaces. Allow the foam to cure fully before trimming away any excess with a utility knife for a clean, neat finish. Proper insulation helps maintain indoor temperature, reduces energy bills, and enhances overall comfort in your home.
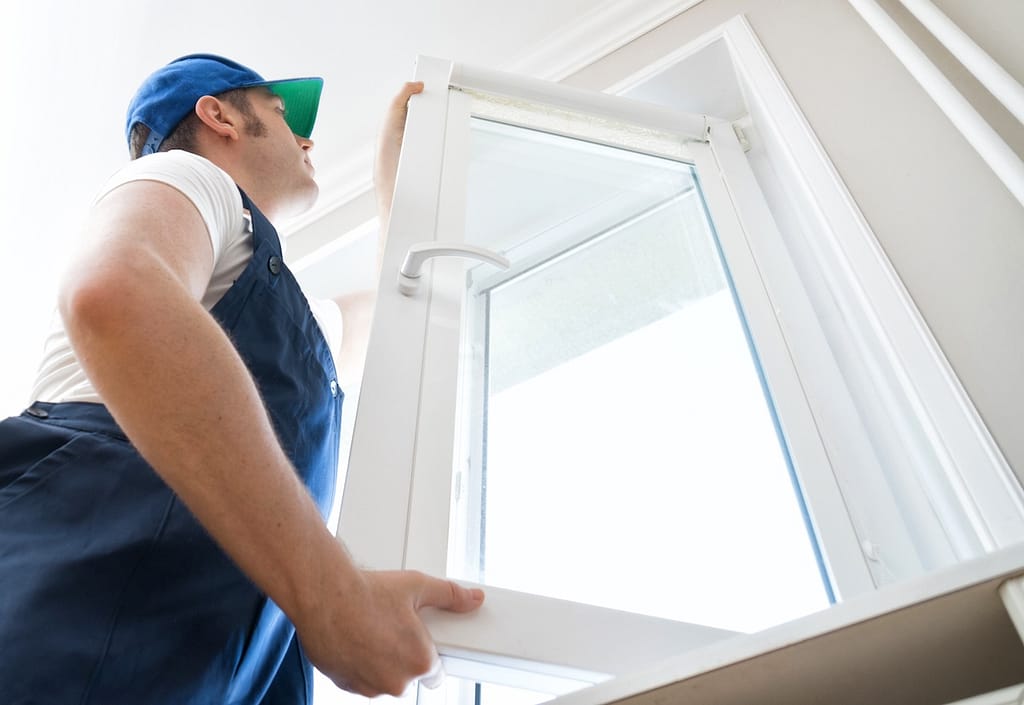
7. Install Trim and Finish
The final step in your window installation is adding the finishing touches. Begin by installing interior and exterior trim around the window frame to cover gaps and provide additional protection against weather. Secure the trim snugly, ensuring there are no gaps where air or moisture could seep in. Once the trim is in place, paint or stain it to match your home’s décor. A well-finished trim not only enhances the appearance of your window but also adds an extra layer of protection, ensuring your window installation is both functional and visually appealing.
💡 Key Tips for Successful Installation
To ensure the longevity and performance of your window installation:
Check Alignment with a Level
Always use a level to ensure proper alignment at every step of the installation process. Misaligned windows can lead to issues like poor sealing, difficulty opening and closing, and even structural problems down the line. Take the time to double-check alignment frequently as you work.
Avoid Over-Tightening Screws
Be careful not to over-tighten screws during installation. Over-tightening can warp or deform the window frame, compromising both its appearance and functionality. Secure the screws firmly but stop once they are snug to avoid unnecessary damage.
Create a Durable, Waterproof Seal
For a proper seal, use high-quality caulk and flashing tape around the window. These materials help prevent water leakage and provide long-term durability. Make sure to apply the caulk evenly and press the flashing tape securely into place for maximum waterproofing.
Follow Manufacturer’s Instructions
Every window model may have unique installation requirements. Always refer to the manufacturer’s guidelines to ensure you’re following the correct procedures. This will help you avoid mistakes and ensure the window functions as intended for years to come.
🏠 Window Installation Guide
Installing new construction windows can be a challenging task, but it doesn’t have to be. When you choose Louisville Window Company, you’re choosing a team of experts dedicated to making the process stress-free and delivering flawless results. With premium materials, unmatched expertise, and a commitment to your satisfaction, we ensure your home gets the upgrade it deserves.
Ready to transform your space with beautiful, energy-efficient windows? Contact us today for a free consultation and let our trusted team take care of all your window needs!