Replacing a window might seem like a daunting task, but with the right tools, a bit of patience, and our step-by-step guide, you can tackle this DIY project with confidence. Whether you’re upgrading for energy efficiency, aesthetics, or functionality, we’ve got you covered. Get ready to transform your living space one window at a time!
What’s inside this blog:
- Necessary tools + materials to replace window
- 11 easy steps for how to effectively replace a window
Keep reading to learn everything you need to know about how to replace a window!
Tools and Materials You’ll Need 🧰🪟

Before diving into the replacement process, gather the following tools and materials:
- Screwdriver
- Utility knife
- Pry bar
- Hammer
- Measuring tape
- Level
- Caulking gun
- Insulation foam
- Silicone caulk
- Shims
- New window
- Safety glasses
- Dust mask
- Gloves
Step 1: Safety First 🥽🧤
Always prioritize safety. Wear your safety glasses, gloves, and a dust mask to protect yourself during the removal and installation process.
Step 2: Remove Interior Trim 🪚🧰
- Carefully use a utility knife to cut along the seam between the trim and the wall.
- Gently pry off the trim using a pry bar, taking care not to damage it if you plan to reuse it.
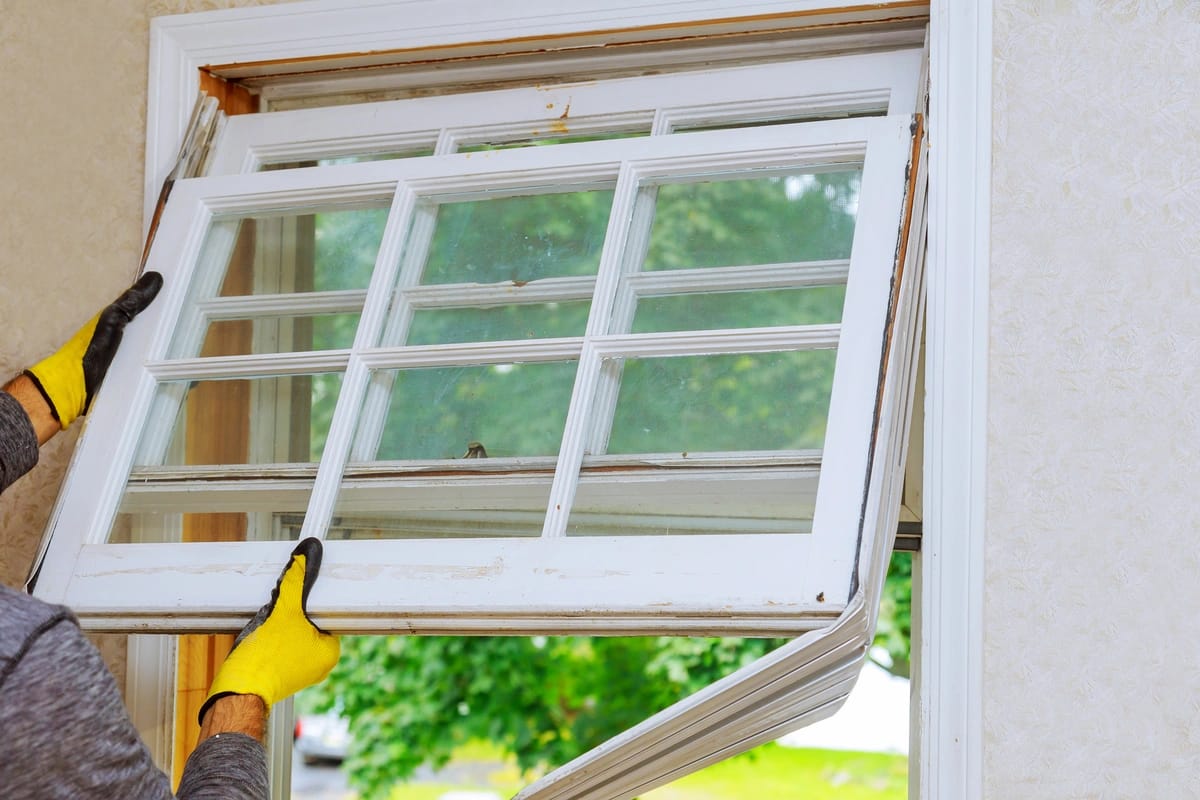
Step 3: Remove Old Window 🪟🔨
- Remove any screws or nails holding the window in place.
- Carefully remove the window sashes.
- Use a pry bar to detach the old window frame from the wall.
- Dispose of the old window responsibly.
Step 4: Inspect the Rough Opening 🕵️🔍
Examine the rough opening (the space in the wall where the window fits) for any damage, rot, or debris. Make any necessary repairs or clean the area as needed in preparation for the full window replacement.
Step 5: Measure and Prepare 📏✏️
- Measure the width and height of the rough opening in multiple places to ensure accuracy.
- Select a new window that fits the measurements and suits your preferences.
Step 6: Apply Flashing Tape (Optional) 🪟🩹
To further protect against moisture, you can apply self-adhesive flashing tape to the sill and the sides of the rough opening. Ensure it’s properly sealed and smooth.
Step 7: Insert the New Window 🪟🪛
- Carefully place the new window into the rough opening.
- Use a level to ensure the window is perfectly level and plumb.
- Insert shims between the window frame and the rough opening as needed to achieve a level and snug fit.
Step 8: Secure the Window 🪟🪛🔒
- Drill pilot holes through the window frame and into the rough opening.
- Secure the window in place by driving screws through the pilot holes.
- Ensure the window remains level and plumb while securing it.
Step 9: Insulate and Seal 🧤🏡

- Fill any gaps between the window frame and the rough opening with insulation foam to enhance energy efficiency.
- Apply a generous bead of silicone caulk around the exterior of the window frame to seal it against moisture and drafts.
Step 10: Replace Interior Trim 🪚🧰
- Trim the new window with the previously removed interior trim pieces.
- Secure the trim with screws or nails.
- Use a putty knife to fill any gaps between the trim and the wall with wood putty.
- Sand and paint the trim to match your interior.
Step 11: Test and Clean Up 🧹🪟
- Open and close the new window to ensure it operates smoothly.
- Wipe away any excess caulk or putty.
- Clean the window and remove any construction debris.
Tips and Considerations 🤓🏡
- Window Type: Ensure you choose the right type of window for your needs, whether it’s a double-hung, casement, or another style.
- Sash Replacement: If you’re only replacing the sashes, follow a similar process but without removing the window frame.
- Energy Efficiency: Consider energy-efficient windows to improve insulation and potentially reduce energy costs.
- Professional Assistance: If you’re unsure about any part of the process, it’s wise to consult with a professional window installer.
Replace a Window Like a Champ
Now that you know how to replace a window, by following these 11 easy steps and taking the time to ensure accuracy and safety, you can accomplish it successfully. Whether you’re upgrading your windows for energy efficiency, improving aesthetics, or enhancing functionality, the satisfaction of completing this project on your own is well worth the effort. So, put on your safety gear, grab your tools, and start transforming your home, one window at a time.
Contact our team of experts today and we’ll kick off your next home project with a free estimate and easy in-home consultation!