Installing door casing may seem like a daunting task, but with the right tools and guidance, it’s a project any homeowner can tackle. Door casing not only frames your doorway but also adds a polished, finished look to your home. This guide will walk you through how to install door casing step by step, ensuring a professional finish you’ll be proud of. Here’s an outline of what you’ll learn:
- What is door casing? The basics and why it matters
- 5 easy steps to install door casing
- Final tips to perfect your installation
🤔 What is Door Casing?
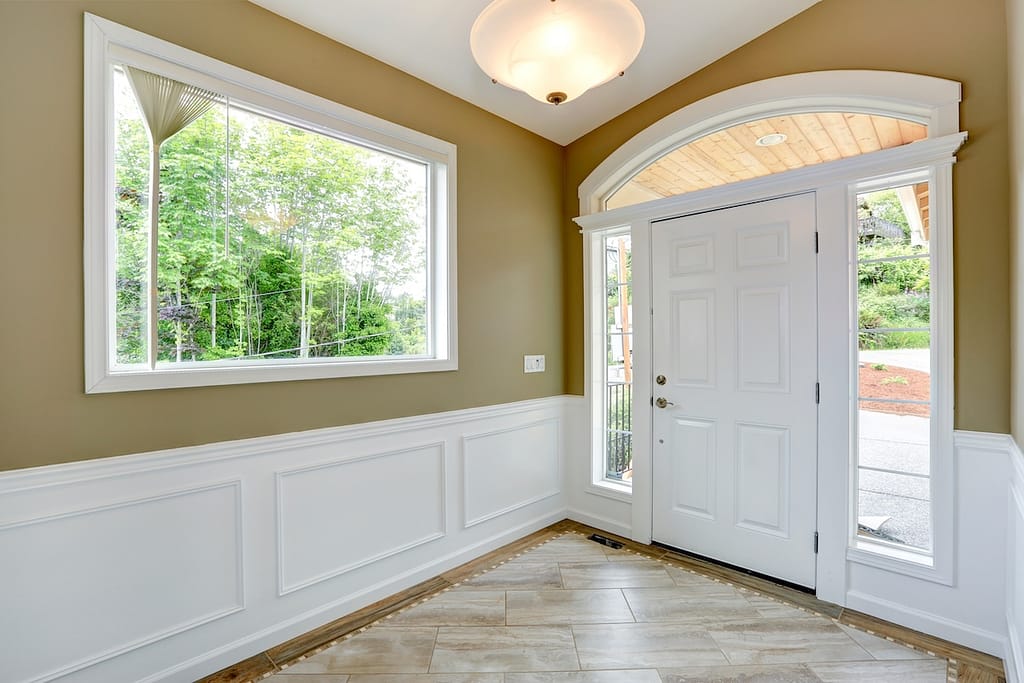
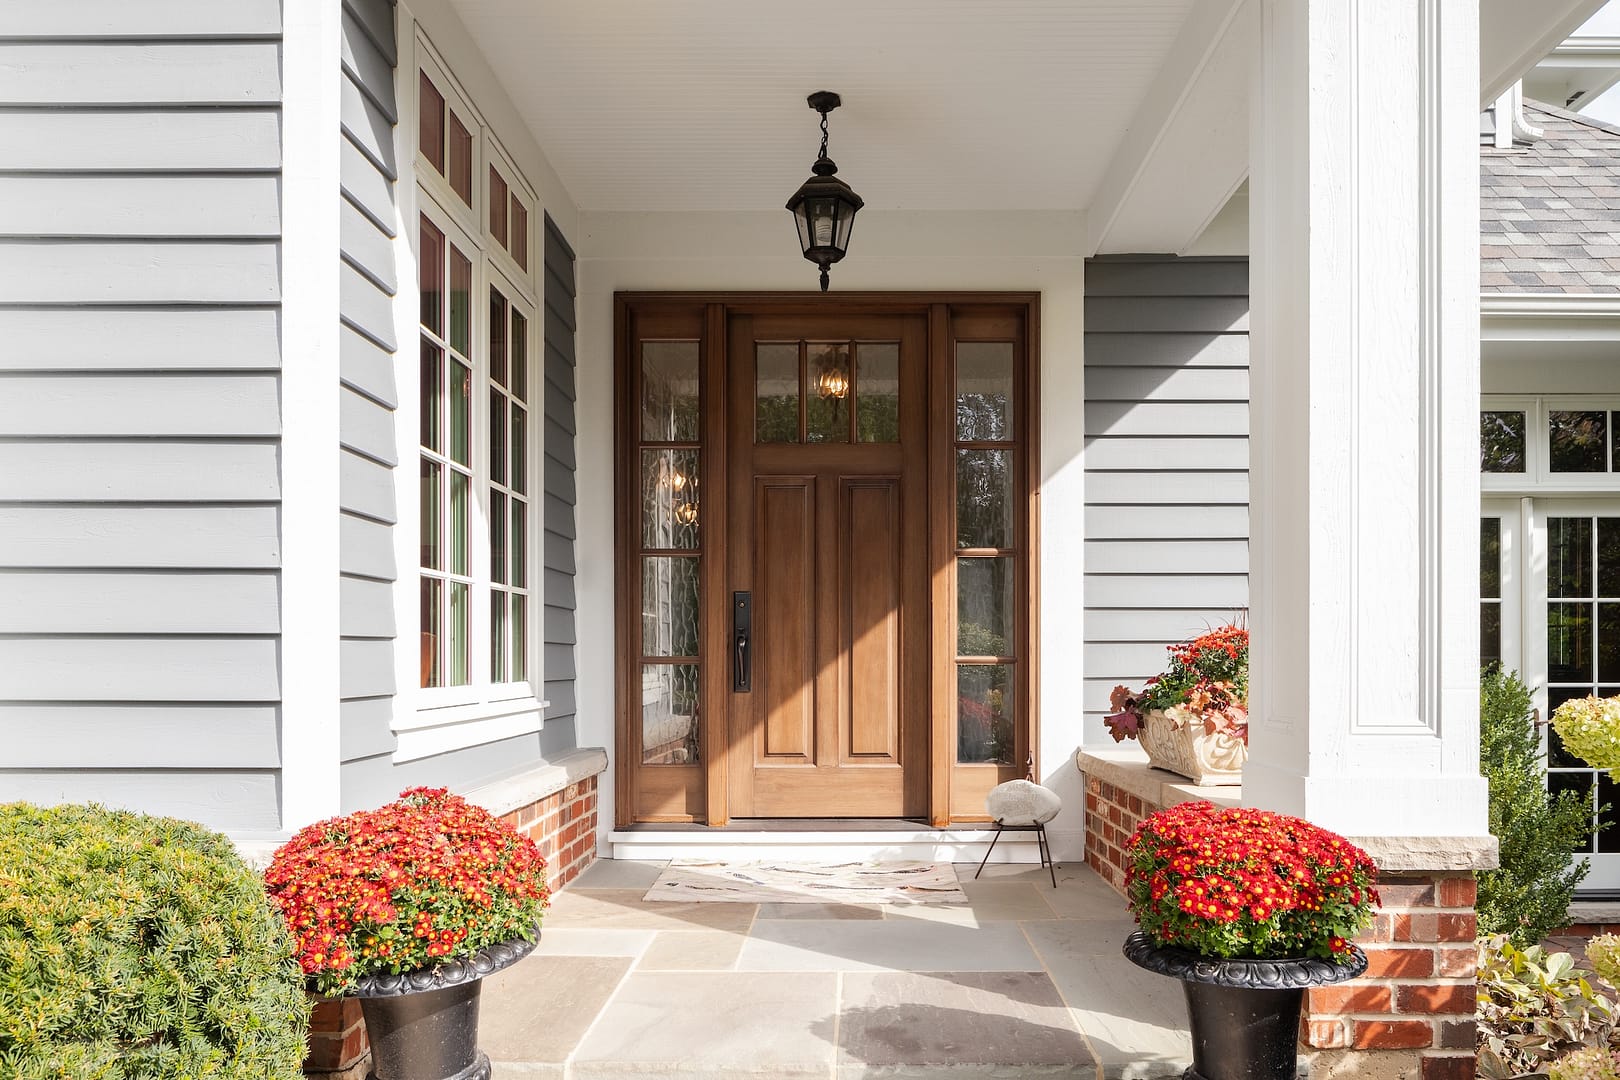
Door casing is the trim that surrounds the inside edges of a doorway. Not only does it serve an aesthetic purpose, adding definition and style to your doors, but it also hides the gap between the wall and the door frame. Whether your style is modern minimalism or traditional charm, door casing plays a subtle yet impactful role in home design.
Understanding its purpose makes the task of installing it more focused and results-driven.
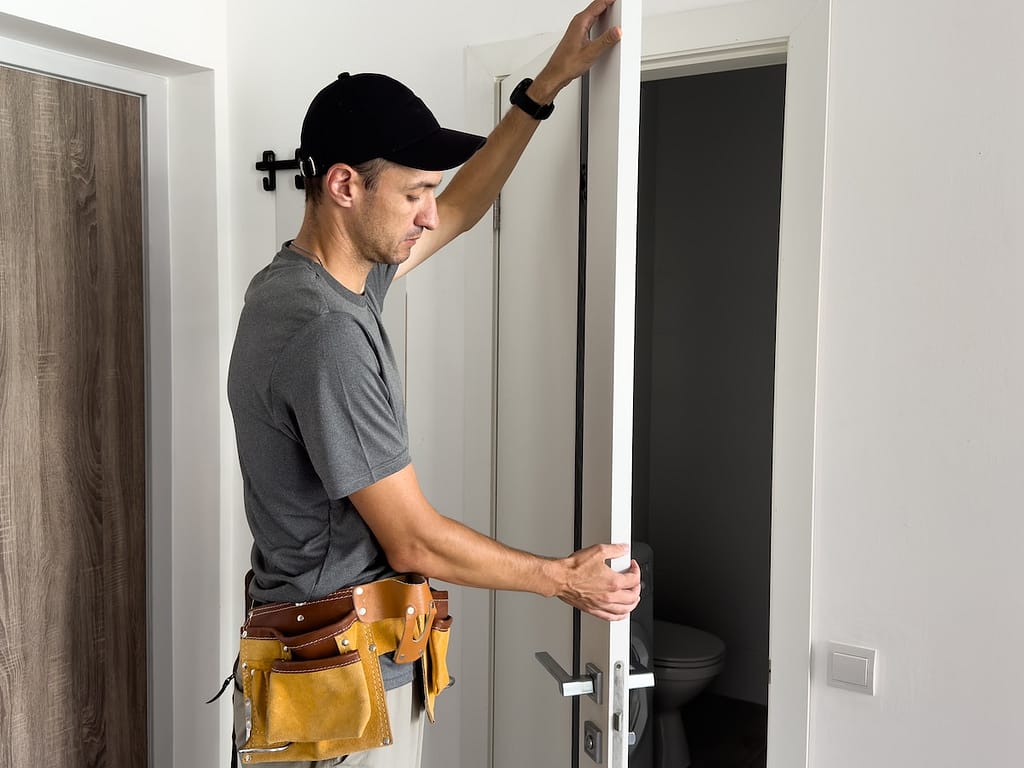
Preparing Your Door Frame for Casing Installation
A successful installation starts with proper prep work. Follow these preliminary steps:
- Remove old trim by scoring the seam with a utility knife and carefully prying it off. Clear away nails and caulk residue.
- Clean the door frame and wall to ensure the new casing fits flush and adheres properly.
- Measure the door frame carefully to determine the amount of casing material needed for precise cuts.
✅ 5 Easy Steps to Install Door Casing
Installing door casing doesn’t have to be a complicated process. Follow these 5 easy steps to achieve a professional finish.
1. Measure and Cut Your Trim
The first step in installing your door casing is to accurately measure and cut the trim. Begin by measuring the height of the two vertical side pieces and the width of the top horizontal piece to ensure the trim will perfectly fit around your door frame. Precision is key here, as even minor miscalculations can result in gaps or misaligned corners.
Once you have your measurements, use a miter saw to cut each piece of trim at a 45-degree angle. This angled cut is important for creating crisp, clean corners that align seamlessly when the casing is assembled. Take your time during this step to avoid errors—it’s better to measure twice and cut once. A pro tip: label each piece of trim after cutting so there’s no confusion later. Perfectly cut trim will set the foundation for a polished and professional-looking installation.
2. Dry Fit the Casing
Before committing to nailing anything in place, it’s essential to do a dry fit of the trim pieces. This step allows you to test the alignment of the two vertical side pieces and the horizontal top piece. Carefully place each piece against the door frame where it will eventually be installed.
Inspect the corners where the mitered edges meet to ensure they align perfectly without leaving any gaps. If you notice any discrepancies, now is the time to make adjustments. Shaving off small amounts with your miter saw can make a big difference in achieving a precise fit. Taking this extra step saves time and frustration later, ensuring your door casing fits snugly and looks polished once installed.
3. Nail the Trim in Place
With the fit confirmed, it’s time to secure the trim to the door frame. Start with the top horizontal piece. Align it carefully at the top of the frame, ensuring it sits level and straight. Once aligned, use a nail gun with finishing nails to attach it firmly to the frame. Drive in the nails at even intervals for better stability.
Next, move on to the two vertical side pieces. Before nailing, use a level to make sure each side piece is perfectly vertical. A crooked piece can throw off the symmetry of the entire casing, so take your time with this step. Once confirmed, nail the side pieces in place, working from the top down to ensure they are fully aligned with the top trim piece. Double-check your work as you go to make sure everything is secure and evenly attached.
4. Fill Gaps and Holes
After nailing the trim in place, you’re likely to notice small gaps at the corners or nail holes along the surface. These imperfections can detract from the finished look, but they’re easy to fix. Use wood filler to fill in every nail hole and any gaps between the trim pieces. Apply the filler smoothly and evenly using a putty knife, being careful not to overfill.
Let the wood filler dry completely, following the manufacturer’s instructions. Once dry, sand the filled areas with fine-grit sandpaper until they are flush with the surface of the trim. This step ensures a seamless finish, giving your casing a professional and polished appearance. Don’t rush—attention to detail here will make all the difference in your final result.
5. Finish the Casing
The final step in your door casing installation is to give it a polished, finished look. Start by applying caulk along the edges of the trim where it meets the wall. This seals any remaining gaps, prevents dust or moisture from getting behind the casing, and creates a smooth, clean transition between the trim and the wall. Use a caulk gun to apply an even bead of caulk, then smooth it out with a damp finger or caulking tool for a professional finish.
Once the caulk has dried, it’s time to paint or stain the trim. Choose a finish that matches the room’s decor, and apply it evenly with a brush or roller. For best results, use multiple thin coats, allowing each coat to dry before applying the next. This ensures a smooth, even finish without streaks or drips.
With the paint or stain complete, step back and admire your work. Your door casing is now finished, adding a polished and elegant detail to your space while showcasing your craftsmanship.
💡 Final Tips to Perfect Your Installation
These last steps are crucial to ensure everything is set up correctly and functions smoothly. A perfect installation saves time, prevents issues, and ensures long-term performance.
Be Patient
Take your time when cutting and aligning the trim. Precision is key to achieving a professional finish. Rushing through this step can result in uneven edges or poor alignment, so work carefully and double-check your measurements before making any cuts.
Invest in Quality Materials
Using high-quality casing and paint can significantly impact the final look of your project. Cheap materials may save money upfront but often lack durability and aesthetic appeal. Opting for premium materials ensures a polished finish and long-lasting results.
Seek Help if Needed
Don’t hesitate to ask for assistance, especially when handling large or cumbersome pieces of trim. A second pair of hands can make tasks like dry fitting and leveling much easier, helping you avoid mistakes and save time.
🚪 Door Casing Installation
Installing door casing can be a satisfying project that adds the perfect finishing touch to your home. However, if you’re looking for flawless results or simply want to save time and effort, the team at Louisville Window Company is here to help. With years of expertise in windows, trims, and home finishing, we take pride in delivering high-quality craftsmanship tailored to your needs.
Let us handle the details so you can enjoy a beautiful, polished space. Ready to get started? Contact Louisville Window Company today for a consultation and let us bring your vision to life