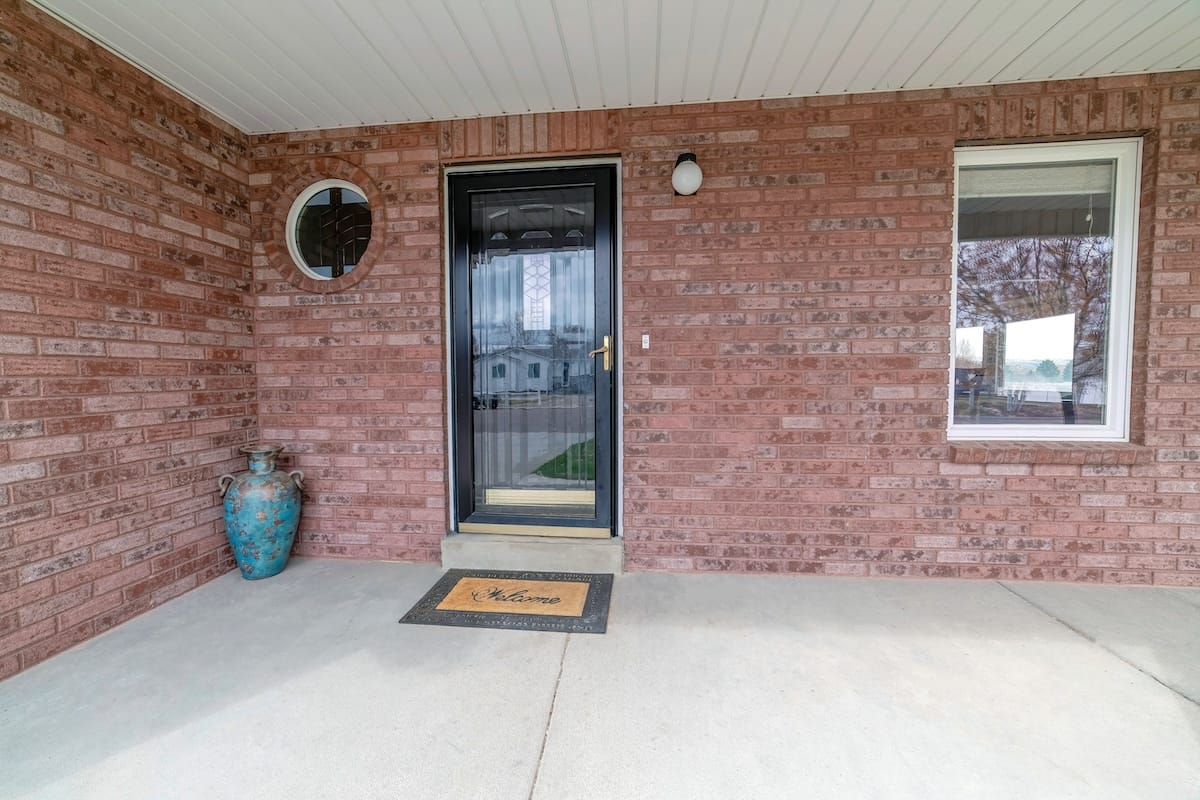
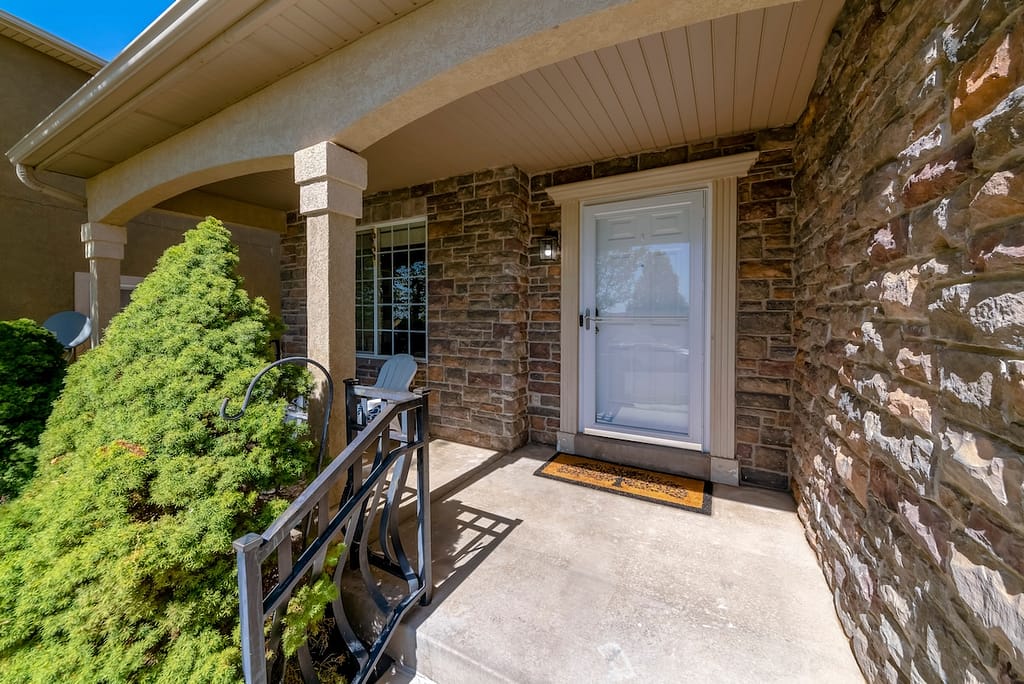
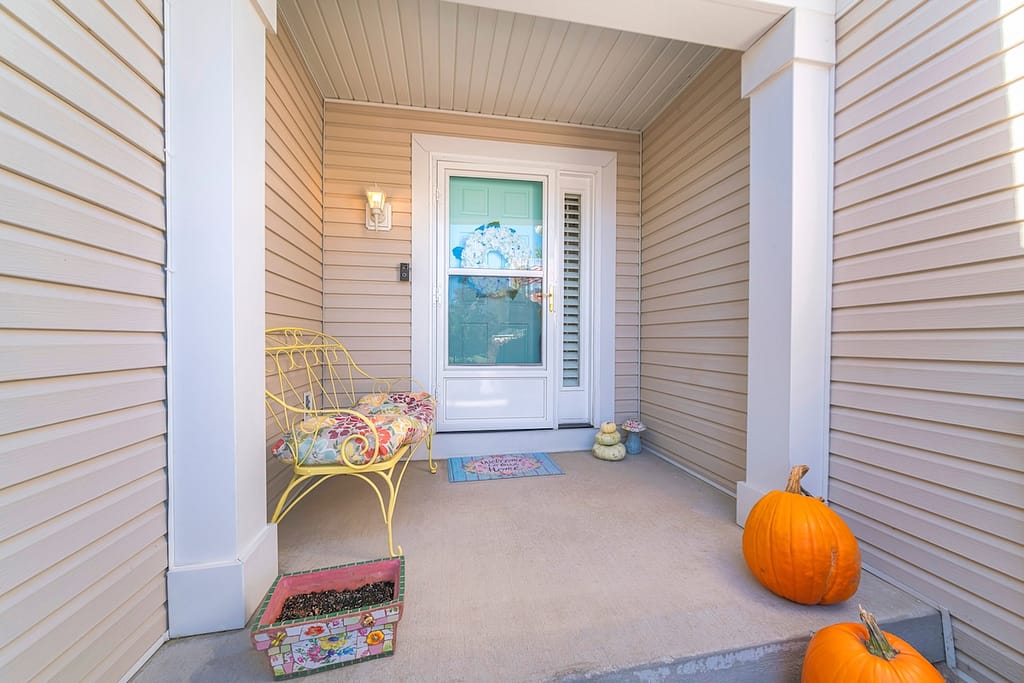
Installing a storm door might seem like a daunting task, but with the right tools and guidance, it’s a manageable DIY project that can enhance your home’s energy efficiency and curb appeal. A properly installed storm door provides an extra barrier against the elements while allowing fresh air to flow through your home when you want it.
This comprehensive guide will walk you through how to install a storm door step by step, covering everything from preparation to final adjustments. We’ll also discuss the tools you’ll need, common challenges you might face, and when it’s best to call in professional help.
Here’s what we’ll cover:
- Tools and Materials Needed – Everything required for a successful installation
- 7 Steps How to Install a Storm Door – Detailed installation process
- Common Installation Challenges – Troubleshooting tips for typical problems
- Maintenance and Care – Keeping your storm door in top condition
🧰 Essential Tools Needed

You’ll need a drill with various bits, a level, measuring tape, and a screwdriver set. A hacksaw or miter saw will help you cut the door frame to the correct size. Keep a pencil handy for marking measurements, and have a ladder or step stool available if your door frame is tall.
Safety equipment is crucial. Wear safety glasses to protect your eyes from debris, and use work gloves when handling metal components. If you’re working alone, consider having a friend assist with holding the door in place during installation.
Pre-Installation Preparation
- Measure the height and width of your door opening, recording the smallest measurements to ensure a proper fit for your storm door. Check height at both sides and the center, and width at the top, middle, and bottom.
- Verify your door frame is square by measuring diagonally from corner to corner. If the difference exceeds 1/4 inch, adjustments or professional help may be needed during installation.
- Inspect the door frame for damage, such as rot, rust, or structural issues. Address any problems to ensure the frame can support the storm door’s weight.
- Clean the door frame thoroughly, removing old caulk, paint chips, or debris for a secure seal and smooth installation.
✅ 7 Steps to Install a Storm Door
Now let’s walk through the complete process of how to install a storm door. Follow these steps carefully for the best results.
Step 1: Unpack and Inventory Components
Remove your storm door from its packaging and lay out all components in a clean, organized area. Check the included hardware against the instruction manual to ensure everything is present. Most storm doors include the door panel, frame pieces, hinges, handle hardware, closer mechanism, and various screws and fasteners.
Identify the hinge side and handle side of your door. The hinge side should be on the same side as your main door’s hinges for proper operation. If you need to reverse the door’s swing direction, consult the manufacturer’s instructions, as this process varies by brand.
Step 2: Prepare the Door Frame
Install the frame pieces according to your storm door’s instructions. Most systems use a Z-bar or similar mounting system that attaches to your existing door frame. Start with the hinge side, ensuring it’s perfectly plumb using your level.
The top piece should be level and square with the hinge side. Use shims if necessary to achieve proper alignment. The handle side completes the frame and should be parallel to the hinge side with consistent spacing from top to bottom.
Secure all frame pieces with the appropriate screws, but don’t fully tighten them yet. You’ll make final adjustments once the door is hung.
Step 3: Install the Hinges
Attach the hinges to the door first, following the manufacturer’s specifications for placement. Most storm doors use three hinges for stability and smooth operation. Ensure the hinges are aligned properly and securely fastened.
Next, attach the hinges to the frame’s hinge side. This step requires precision, as misaligned hinges will cause the door to bind or not close properly. Use your level to double-check that the hinges are vertically aligned.
Test the hinge operation by opening and closing the door several times. The door should swing smoothly without binding or catching.
Step 4: Hang the Door
With assistance from a helper, carefully lift the door and align the hinges with the frame. This step requires patience and coordination to avoid damaging the door or frame.
Once the door is hung, test its operation immediately. The door should open and close smoothly with consistent gaps around the frame. If the door binds or doesn’t close properly, adjust the frame pieces using shims or by loosening and repositioning the mounting screws.
Check that the door is plumb and level. An improperly hung door will have uneven gaps and may not seal correctly against weather.
Step 5: Install the Handle and Latch
Install the handle mechanism according to the manufacturer’s instructions. Most storm doors use a lever-style handle that operates both the main latch and deadbolt if equipped.
The latch should align perfectly with the strike plate on the frame. If alignment is off, you may need to adjust the door’s position or file the strike plate opening slightly.
Test the latch operation multiple times to ensure smooth function. The door should latch securely without excessive force.
Step 6: Install the Door Closer
The door closer mechanism controls how the door opens and closes. Most storm doors include a pneumatic or spring-loaded closer that mounts to the door and frame.
Follow the manufacturer’s instructions carefully for closer installation, as improper installation can cause the door to slam shut or fail to close completely. Most closers have adjustment screws that control closing speed and force.
Test the closer operation and make adjustments as needed. The door should close smoothly and completely without slamming.
Step 7: Final Adjustments and Weatherstripping
Make any final adjustments to ensure the door operates smoothly and seals properly. Tighten all screws and fasteners to their final torque specifications.
Install or adjust the weatherstripping around the door frame. Proper weatherstripping is crucial for energy efficiency and weather protection. The strips should compress slightly when the door is closed but not so much that they prevent proper closure.
Test the door’s operation one final time, checking that it opens and closes smoothly, latches securely, and seals properly around the frame.
👉 Common Installation Challenges
Even when you follow instructions carefully, you may encounter challenges while learning how to install a storm door. Understanding these common issues and their solutions will help you complete the project successfully.
Uneven Door Frames
Older homes often have door frames that aren’t perfectly square or level. This settling can make storm door installation challenging. Use shims to level the frame pieces and ensure proper door operation.
If the frame is significantly out of square, you may need to trim the door or frame pieces slightly. Make small adjustments and test frequently to avoid overcorrecting.
Hardware Alignment Issues
Misaligned hardware is one of the most common problems when installing storm doors. Take time to measure twice and drill once when marking mounting holes.
If you make a mistake with hole placement, you can often relocate the hardware slightly or use wood filler to fill incorrect holes before drilling new ones.
Weather Seal Problems
Poor weather sealing defeats the purpose of installing a storm door. Ensure all weatherstripping is properly installed and creates a good seal when the door is closed.
If gaps remain after installation, additional weatherstripping or door adjustments may be necessary. Don’t skip this step, as proper sealing is essential for energy efficiency.
🛠️ Maintenance and Care
Once you’ve successfully learned how to install a storm door, proper maintenance will ensure years of reliable operation. Regular care prevents problems and extends the door’s lifespan.
Regular Cleaning
Clean your storm door regularly with mild soap and water. Avoid harsh chemicals that could damage the finish or weatherstripping. Pay special attention to the tracks and hinges, removing any debris that could interfere with operation.
Glass panels should be cleaned with standard glass cleaner for optimal visibility and appearance. Check the glazing around glass panels periodically for signs of deterioration.
Seasonal Adjustments
Storm doors may require seasonal adjustments as temperature changes cause expansion and contraction. The door closer may need adjustment as seasons change, particularly if you notice the door not closing completely in cold weather.
Lubricate hinges and moving parts annually with a light oil or silicone spray. This maintenance prevents squeaking and ensures smooth operation.
Hardware Inspection
Inspect all hardware annually for signs of wear or loosening. Tighten screws as needed and replace any worn components promptly. Pay particular attention to the closer mechanism, as it experiences the most wear during normal operation.
Check weatherstripping for compression set or damage. Replace worn weatherstripping to maintain proper sealing and energy efficiency.
👨🔧 Trust Louisville Window Company for Your Door Installation Needs
Installing a storm door can be a fulfilling project, but ensuring it’s done right is essential for your home’s comfort, security, and energy efficiency. That’s where our team at Louisville Window Company comes in. With years of experience, a commitment to quality, and a perfect 5-star rating from satisfied customers, we’re the team you can trust for all your door installation needs.
We work with top brands like Pella, ProVia, and Therma-Tru to ensure you get a superior product installed with the utmost care and precision. Don’t leave something as important as your home’s entryway to chance—contact Louisville Window Company today to schedule your consultation and let us handle the hard work while you enjoy the results!