Screen doors provide excellent ventilation while keeping insects out of your home. Learning how to install a screen door can save you money on professional installation costs and give you the satisfaction of completing a valuable home improvement project yourself. This comprehensive guide will walk you through the entire process, from selecting the right door to finishing touches.
Whether you’re replacing an old screen door or installing one for the first time, this step-by-step tutorial covers everything you need to know. We’ll discuss the tools required, preparation steps, and common mistakes to avoid. You’ll also learn about different types of screen doors and troubleshooting tips for a successful installation.
Here’s what we’ll cover in this guide:
- Choosing the Right Screen Door – Types and features to consider
- Tools and Materials Needed – Essential equipment for a smooth installation
- 6 Steps to Install Your Screen Door – Detailed installation process
- Troubleshooting Common Issues – Solutions for typical installation problems
- Maintenance Tips – Keeping your screen door in top condition
🚪 Choosing the Right Screen Door
Selecting the appropriate screen door is crucial for both functionality and aesthetics. Screen doors come in various styles, materials, and sizes to match different home designs and needs.
Types of Screen Doors
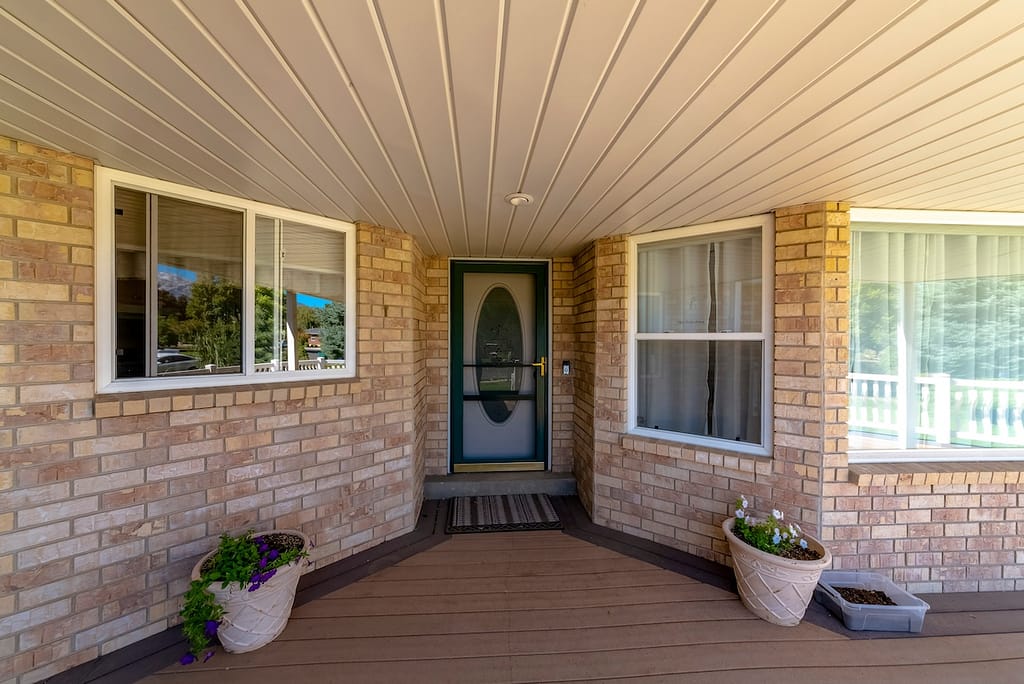
- Traditional Screen Doors: Simple frame with mesh screening, lightweight, affordable, and easy to install. Ideal for basic ventilation needs.
- Storm Screen Doors: Dual functionality with interchangeable glass and screen panels; glass for colder months, screens for warmer weather.
- Retractable Screen Doors: Roll up when not in use, offering an unobstructed view. Higher cost but great for convenience and aesthetics.
- Security Screen Doors: Combine ventilation with enhanced security features; made with stronger materials and reinforced frames for added protection.
Material Considerations
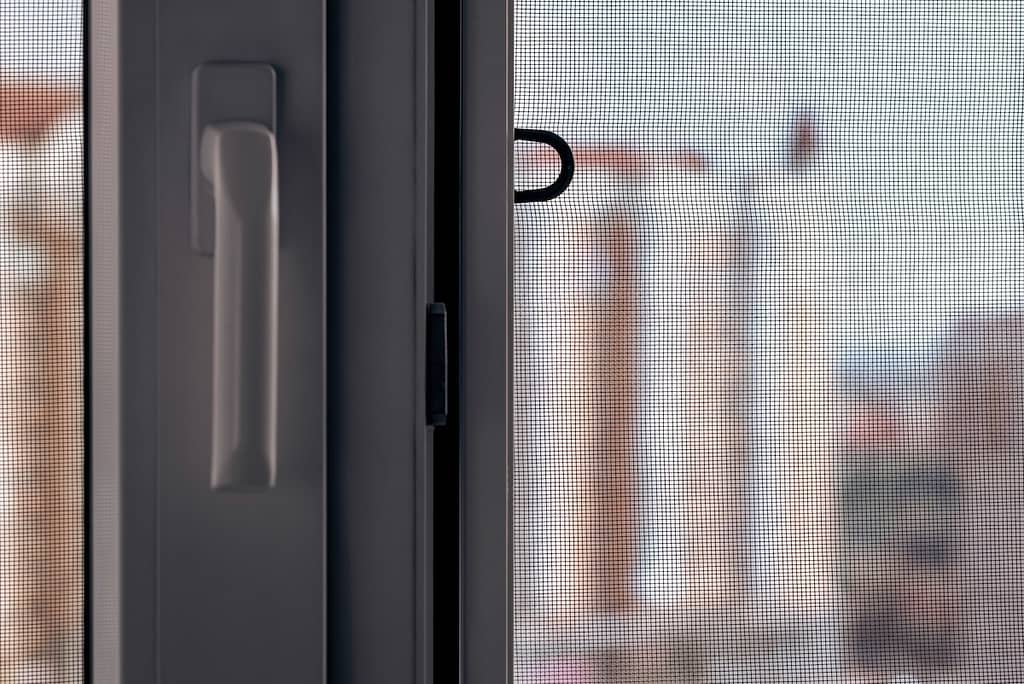
Aluminum frames are lightweight, rust-resistant, and require minimal maintenance. They’re the most popular choice for residential applications.
Wood frames offer natural beauty and can be painted or stained to match your home’s exterior. However, they require more maintenance and may warp over time.
Vinyl frames provide excellent durability and are virtually maintenance-free. They’re available in various colors and won’t rust, rot, or require painting.
🧰 Tools and Materials Needed
Gather your tools and materials before starting to ensure a smooth screen door installation.
Tools:
- Drill and bits
- Screwdrivers (flathead & Phillips)
- Measuring tape, level, pencil
- Utility knife, hacksaw (if trimming needed), safety glasses
Materials:
- Screen door kit (check contents)
- Hinges, handle, latch, screws
- Shims, weather stripping, door closer/spring
✅ 6 Steps to Install Your Screen Door
Now that you’ve prepared your workspace and gathered your materials, follow these detailed steps to install your screen door successfully.
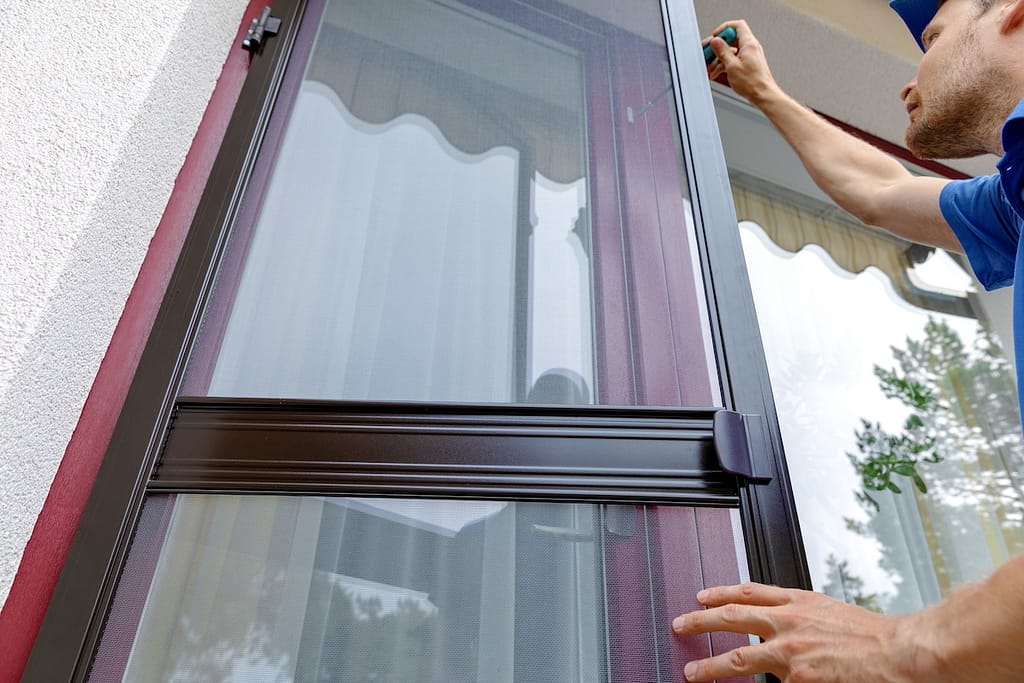
1. Install the Hinges
Start by attaching the hinges to your screen door. Most screen doors use three hinges positioned at the top, middle, and bottom of the door frame. Mark the hinge locations according to the manufacturer’s instructions.
Hold each hinge in position and mark the screw holes with a pencil. Pre-drill pilot holes to prevent the wood from splitting, then secure the hinges with the provided screws. Ensure all hinges are aligned properly for smooth door operation.
2. Position the Door in the Frame
With a helper, carefully position the screen door in the door frame. The door should sit evenly within the opening with consistent gaps on all sides. Use shims if necessary to adjust the door’s position.
Check that the door is level and plumb using your level. The door should open and close smoothly without binding or sticking. Make any necessary adjustments before proceeding to the next step.
3. Mark and Drill Hinge Locations on Frame
With the door properly positioned, mark the hinge locations on the door frame. Use a pencil to outline each hinge and mark the screw holes. Remove the door temporarily to drill pilot holes for the hinge screws.
Take care to drill straight holes at the correct depth to ensure proper hinge alignment. Test-fit the hinges before permanently attaching them to verify everything aligns correctly.
4. Attach the Door to the Frame
Reposition the door in the frame and attach the hinges to the door frame using the provided screws. Start with the top hinge, then the bottom, and finally the middle hinge. This sequence helps maintain proper door alignment.
Test the door operation after each hinge installation. The door should swing freely without binding or gaps. Make any necessary adjustments to the hinge position or use shims to perfect the fit.
5. Install the Door Handle and Latch
Install the door handle and latch mechanism according to the manufacturer’s instructions. Most screen doors use a simple latch system that engages with a strike plate on the door frame.
Mark the handle and latch locations carefully, ensuring they align properly with the strike plate. Pre-drill holes to prevent damage to the door frame, then secure all components with the provided screws.
6. Add the Door Closer and Final Adjustments
Install the door closer or spring mechanism to ensure the door closes automatically. These devices prevent the door from staying open and allowing insects to enter your home.
Adjust the closer tension according to the manufacturer’s instructions. The door should close firmly but not slam shut. Test the complete door operation several times and make any final adjustments needed for smooth, reliable performance.
🔎 Troubleshooting Common Issues
Even with careful preparation, you may encounter some challenges during screen door installation. Here are solutions to common problems that homeowners face.
Door Won’t Close Properly
If your screen door won’t close completely, check for several potential issues. The door frame may not be square, requiring shims to level the door. Hinges might be improperly aligned or the door could be warped.
Adjust the hinges by loosening the screws slightly and repositioning them. If the door frame is out of square, use shims behind the hinges to compensate. For minor warping, weather stripping can help create a better seal.
Gaps Around the Door
Gaps around the door edges allow insects to enter, defeating the purpose of your screen door. Check that the door is properly sized for your opening and that the frame is square.
Add weather stripping around the door frame to seal minor gaps. For larger gaps, you may need to adjust the door position or add trim pieces to reduce the opening size.
Door Slams Shut
A door that slams shut can be jarring and may damage the door or frame over time. This usually indicates that the door closer is adjusted too tightly or the door is out of balance.
Adjust the door closer tension according to the manufacturer’s instructions. Most closers have adjustment screws that allow you to control the closing speed and force. Make small adjustments and test the door operation until you achieve smooth, controlled closing.
👨🔧 Maintenance Tips
Proper maintenance will extend the life of your screen door and ensure it continues to operate smoothly. Regular care prevents major problems and keeps your door looking its best.
Regular Cleaning
Clean your screen door regularly to prevent dirt and debris buildup. Use a soft brush or vacuum to remove dust and particles from the screen mesh. Wash the frame with mild soap and water, then dry thoroughly to prevent water spots.
Pay special attention to the door tracks and hinges, removing any accumulated dirt or debris that could affect smooth operation. Lubricate hinges periodically with a light machine oil to prevent squeaking and ensure easy movement.
Seasonal Inspections
Inspect your screen door each season for signs of wear or damage. Check the screen mesh for tears or holes that need repair. Examine the frame for loose screws, damaged weather stripping, or worn hinges.
Address minor issues promptly to prevent them from becoming major problems. Replace worn weather stripping, tighten loose screws, and repair small tears in the screen mesh as needed.
Winter Storage (if applicable)
If you have a removable screen door, consider storing it during winter months to protect it from harsh weather. Clean the door thoroughly before storage and keep it in a dry location to prevent damage.
For permanent installations, ensure the door closer is properly adjusted for temperature changes that may affect its operation. Cold weather can make door closers operate more slowly, while heat can cause them to close too quickly.
🛠️ Install A Screen Door: How-To Guide
Installing a screen door can be a rewarding DIY project, but it’s not always straightforward—especially if your door frame requires adjustments or specialized hardware. That’s where our team comes in. With years of experience and a commitment to quality craftsmanship, we’re the trusted experts for all your door needs.
Whether you’re tackling a tricky installation or simply want the peace of mind that comes with professional service, we’re here to help. Ready to get started? Contact us today for a free consultation and let us make your screen door installation seamless and stress-free!