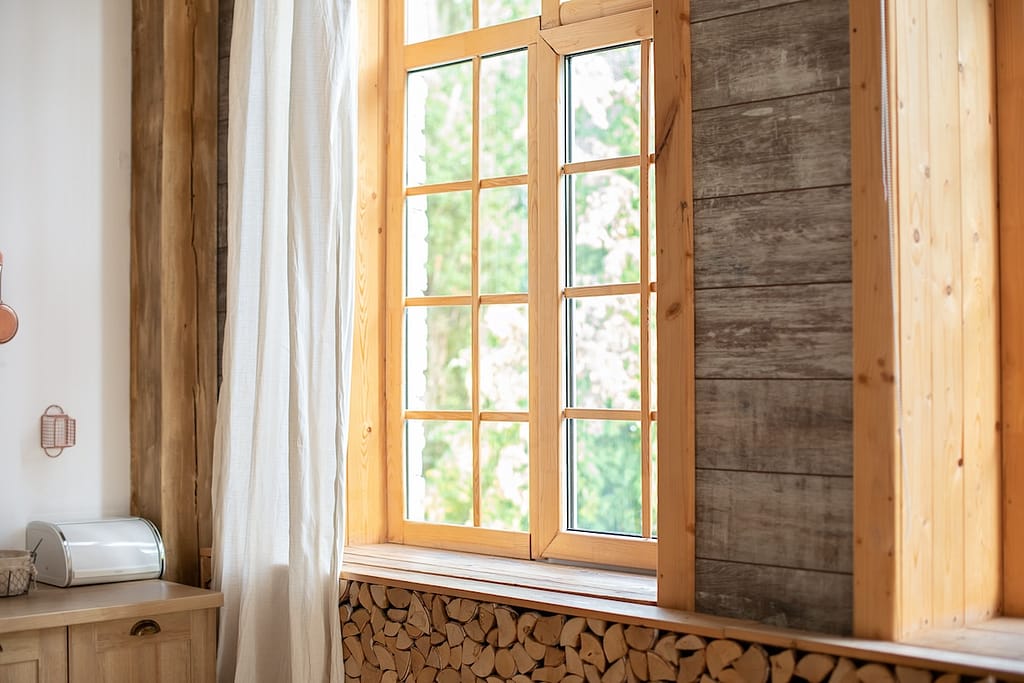
Framing a window is more than just an essential step in installing or replacing windows—it’s about creating proper structure, ensuring durability, and turning your living space into a haven of natural light and style. Whether you’re renovating your home or starting a brand-new DIY project, understanding how to frame a window is crucial for a secure fit and an aesthetically pleasing result. This guide will walk you through:
- What you need to know before you start framing a window
- How to choose the right tools and materials for the job
- The six essential steps to frame a window with confidence
🤔 Why Is Window Framing Important?
Window framing is a critical part of any construction or renovation project. It provides the necessary structural support, ensures proper weatherproofing, and guarantees that your windows function smoothly. A well-framed window not only enhances the longevity of your home but also improves energy efficiency and comfort. On the other hand, poor framing can lead to a variety of issues, including drafts, water leaks, and increased energy costs.
Key Benefits of Proper Window Framing:
- Structural Support: Frames hold the window in place and ensure it stays secure over time, even under stress from weather or regular use.
- Weatherproofing: Proper framing creates a tight seal that prevents water, wind, and debris from entering your home.
- Smooth Operation: Ensures windows open, close, and lock without sticking or misalignment.
- Energy Efficiency: Prevents drafts and heat loss, helping reduce energy bills and maintain a comfortable indoor climate.
- Longevity: Protects your home from damage caused by moisture or air infiltration, extending the life of both the window and surrounding structure.
Risks of Poor Window Framing:
- Drafts: Improper sealing can let cold air in during winter and hot air in during summer.
- Leaks: Water infiltration can lead to mold, mildew, and structural damage.
- Increased Bills: Energy costs rise when your HVAC system works harder to compensate for poor insulation.
- Functional Issues: Misaligned frames can cause windows to stick, jam, or fail to lock securely.
✅ 6 Steps to Frame a Window, Step-by-Step
Learning how to frame a window is essential for ensuring proper support, insulation, and durability in your home. A well-framed window not only enhances structural integrity but also improves energy efficiency.
1. Create the Rough Opening
The first step in building a window frame is creating the rough opening. This opening provides the framework for your window and must accommodate the window’s dimensions, along with extra space for shims and insulation.
Start by measuring the width and height of your window to determine the size of the opening. Add approximately 1/2 inch to both the width and height to allow for some wiggle room during installation. Once you have your measurements, cut the opening into your wall. Be sure to account for any existing studs and support beams, as these are critical for the structural integrity of the wall. Ensure the opening is cleanly cut and properly prepared for the next steps in the process.
2. Install the Bottom Sill
The bottom sill is a crucial component, as it supports the weight of the window and serves as the foundation for your frame. To begin, use a sturdy piece of lumber to construct the bottom sill. Carefully measure the length needed to fit the rough opening, and then cut the lumber accordingly.
Once the sill is ready, position it at the base of the opening. Use a level to ensure it is completely even, as any tilt here could cause issues later during window installation. Secure the sill in place using nails or screws, and then seal any gaps or openings with weatherproofing material. This step prevents moisture from seeping in and protects the structure against drafts.
3. Gain Structural Integrity with the Header
The header is essential for distributing the load above the opening, ensuring your window frame remains stable and secure. To create the header, cut two pieces of framing lumber to fit the width of the rough opening.
Nail the two pieces of lumber together to increase their strength and durability. Once the header is ready, position it securely above the rough opening. Ensure it is properly aligned and attach it firmly using nails or screws. The header provides the necessary reinforcement to handle the load from the wall above the window, maintaining the structural integrity of your frame.
4. Add King Studs and Trimmer Studs
The king and trimmer studs play a vital role in anchoring the frame and reinforcing the overall structure. Start by installing the king studs, which are placed vertically on either side of the rough opening. These studs provide additional support to the frame and help balance the load.
Next, add the trimmer studs. These are installed inside the king studs and are responsible for holding the header in place. Cut the trimmer studs to the appropriate length, ensuring a snug fit beneath the header. Double-check the alignment of the king and trimmer studs, as they need to sit perfectly vertical for the frame to remain stable and secure.
5. Apply the Window Frame
With the structure in place, it’s time to add the window frame. Start by attaching the side jambs to each side of the rough opening. These vertical pieces provide stability and help guide the window into position.
Use a level to confirm that the side jambs are perfectly straight before securing them in place with nails or screws. Any misalignment at this stage could affect the fit of the window. Once the jambs are secured, seal all gaps around the frame with insulation. Proper insulation ensures the window frame is energy-efficient and prevents air leaks.
6. Final Adjustments
The last step is to insert the window and make any necessary adjustments to ensure a perfect fit. Carefully position the window within the frame and check its alignment using a level. Use shims to adjust the positioning until the window sits completely level and secure.
Once the window is correctly positioned, fasten it in place using nails or screws. Finally, seal all edges with caulk to protect the frame against drafts, moisture, and other external elements. This step ensures your window is weatherproof and ready for long-term use.
🛠️ What You Need to Know Before Starting
Before grabbing your toolbox, take these steps to set yourself up for success:
Prepare Your Space
Before starting, take time to prepare the area around the window opening. Clear away any furniture, clutter, or obstacles to ensure you have easy access to the workspace throughout the project. Additionally, remove any old framing or damaged materials from the opening to create a clean and stable foundation for the new window installation. Taking these steps will help the process go smoothly and ensure the best results.
Gather Your Tools and Materials
Having the right tools and materials on hand is essential for a successful window installation. Make sure you have a measuring tape to take precise measurements, a level to ensure everything is aligned properly, and a saw for cutting framing lumber to size. You’ll also need a hammer and nails or a nail gun for securing the frame, along with high-quality framing lumber for structural support. Don’t forget insulation material to keep your home energy-efficient, as well as shims and sealant to ensure a snug and airtight fit around the window. Collect everything you need before starting to avoid unnecessary delays.
Double-Check Measurements
Accurate measurements are key to a successful installation. Carefully measure the rough opening and confirm that the dimensions align with the size of your new window. Taking the time to double-check ensures that everything will fit properly and prevents costly mistakes. As the saying goes, “Measure twice, cut once!” This extra step can save you time, effort, and materials in the long run, making the entire project more efficient.
🏡 Window Framing Guide
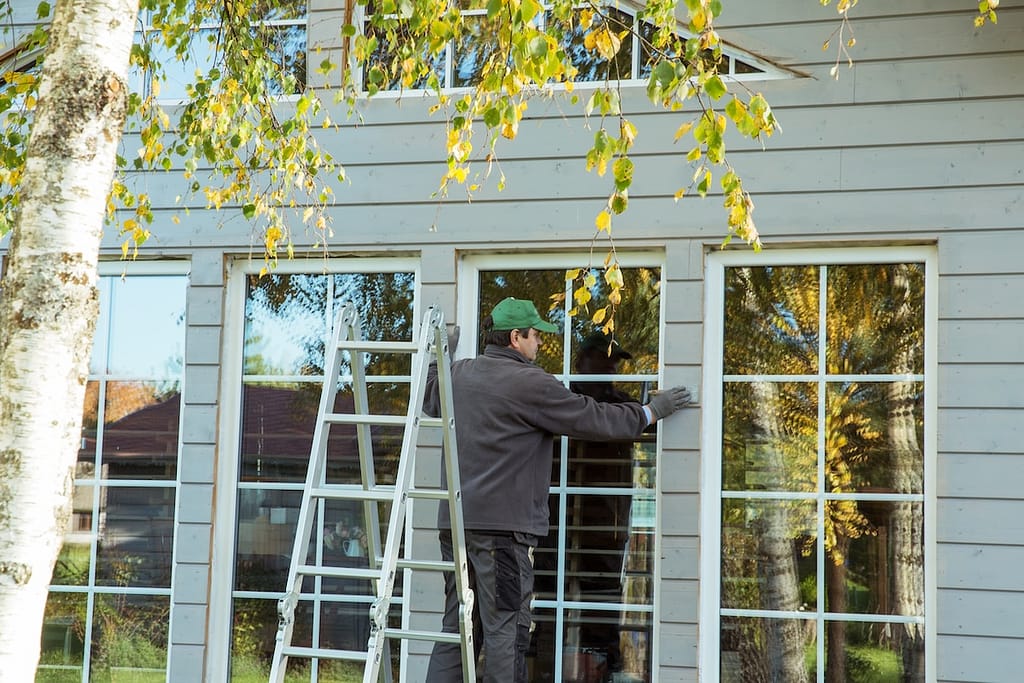
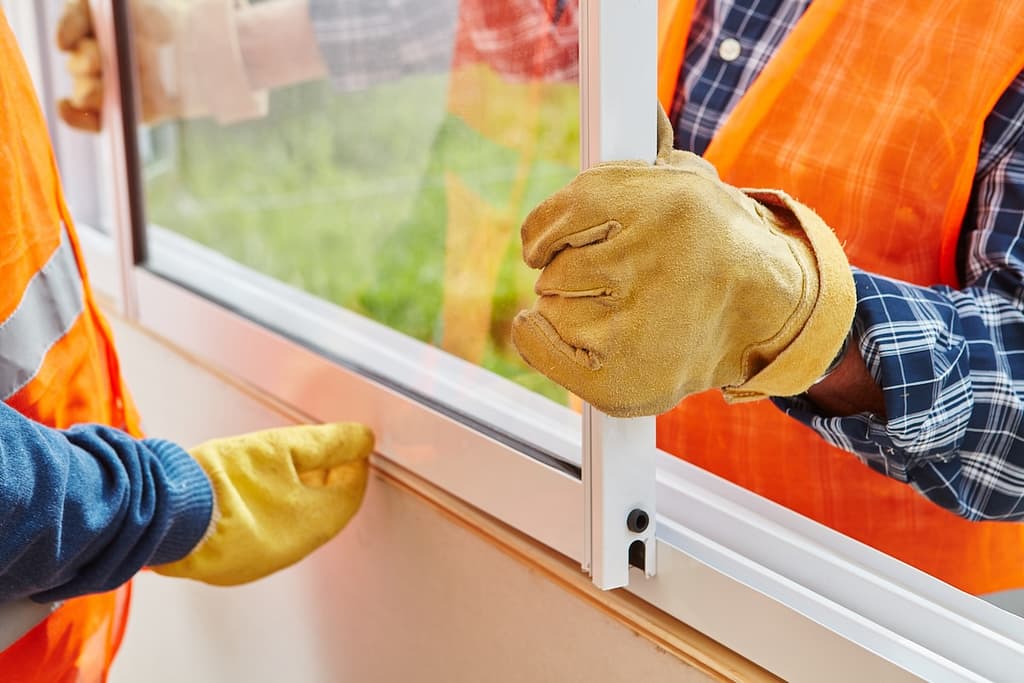
Framing a window takes skill, precision, and the right tools to ensure long-lasting results. While DIY projects can be rewarding, trusting professionals like our team at Louisville Window Company ensures your windows are installed perfectly and built to stand the test of time.
With expert craftsmanship, high-quality products from trusted brands, and a commitment to exceptional service, we’re your go-to team for all your window needs. Ready to get started? Contact us today for a free consultation and let us bring your window project to life!