When it comes to installing windows, proper flashing is a critical step. Without it, your windows may leak, allowing water intrusion that can lead to mold, rot, and long-term structural damage. Beyond moisture protection, flashing also plays a role in improving your window’s energy efficiency, helping your home stay comfortable all year long.
If you’ve been wondering how to flash a window correctly, you’re in the right place. Flashing may seem intimidating, but with the right guidance and tools, it’s a task homeowners can understand—and possibly even tackle themselves.
Here’s what this blog will cover:
- What is window flashing, and why is it necessary?
- A step-by-step guide on how to flash a window
- Common flashing mistakes to avoid
🤔 What is Window Flashing, and Why Do You Need It?
Window flashing is a critical waterproof barrier designed to direct water away from vulnerable areas around your window. When installed correctly, it prevents leaks by effectively sealing the gap between the window frame and the building envelope. Typically made from durable materials such as butyl tape, aluminum, or plastic, flashing acts as a first line of defense against water intrusion, protecting your home from potential damage.
Flashing is absolutely essential for several reasons. First and foremost, it provides vital water protection. Without proper flashing, moisture can find its way through small cracks and gaps, leading to issues like mold growth, rotting wood, and long-term structural damage that can be both hazardous and expensive to repair. Additionally, flashing helps improve your home’s energy efficiency. By tightly sealing the area around the window, it prevents drafts and reduces energy loss, ensuring your heating and cooling systems work more effectively. This not only keeps your home comfortable year-round but also helps lower energy bills. Lastly, flashing enhances durability. It safeguards both the window and the surrounding structure, extending the life of your investment and reducing the need for frequent repairs or replacements.
In summary, window flashing is far more than a simple component of your window installation—it’s an essential feature for maintaining a safe, energy-efficient, and long-lasting home. Whether you’re building a new property or upgrading an existing one, ensuring proper flashing installation is one of the smartest decisions you can make for the health and longevity of your home.
Tools and Materials You’ll Need to Flash a Window
- Flashing tape (butyl is a popular option)
- Building wrap or house wrap
- Utility knife or scissors
- Caulking gun with high-quality exterior sealant
- Measuring tape
- Staple gun
- Safety gloves and goggles
🪟 6 Step Guide to Flash a Window
Flashing a window properly involves careful preparation and installation. Below, we’ve broken the process into simple, actionable steps to help you ensure a watertight seal.
1: Prepare the Opening
The first step in installing a window is to prepare the opening properly. Begin by inspecting the window opening for any signs of damage, such as cracks, rot, or uneven surfaces. Any issues should be repaired before continuing to ensure a secure and stable installation.
Once the opening is checked and repaired, wrap the rough opening with house wrap to create a protective barrier against moisture. Make sure the house wrap overlaps with the surrounding materials to provide full protection. This overlap is essential to prevent water infiltration over time.
Next, cut the house wrap in the shape of an “X” within the window opening. Push the flaps created by the cuts inward and staple them securely to the inside of the frame. This ensures the house wrap stays firmly in place, creating a clean and protected surface for the next steps.
2: Install the Sill Pan
To ensure proper drainage and prevent water damage, a sill pan must be installed at the base of the window opening. Start by measuring the width of the sill and cutting a piece of flashing tape to fit. Make sure the flashing tape extends beyond the sill by at least 3-4 inches on both sides. This extra extension helps direct water away from the structure.
Press the flashing tape firmly onto the sill, making sure to eliminate any air bubbles or wrinkles that could compromise its effectiveness. Smooth it down completely to create a tight, flat surface.
For an added layer of protection, pre-bent flashing can be used as a sill pan. If you are opting for this method, install the pre-bent flashing at this stage. Secure it tightly into place to ensure it remains steady during the rest of the process.
3: Place the Window and Secure It
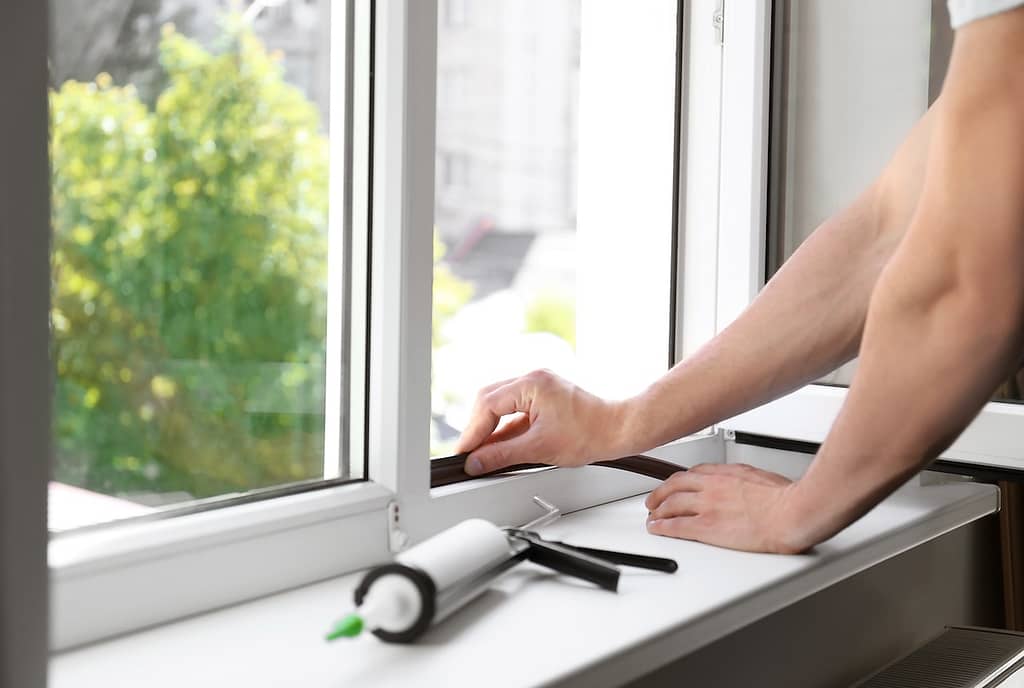
Once the sill pan is in place, it’s time to position the window in the opening. Start by applying a continuous bead of exterior-grade sealant along the inside edge of the opening. This sealant will help create a waterproof barrier and prevent moisture from penetrating around the edges of the window.
Carefully lift the window and place it into the prepared opening. Make sure the window is level horizontally and vertically. Take your time to position it accurately, as an uneven window can lead to operational issues and water intrusion.
Once the window is correctly positioned, follow the manufacturer’s instructions to secure it into place. Use nails or screws as directed, ensuring they are driven in evenly to hold the window firmly without warping or damage.
4: Flash the Window’s Sides
Flashing the sides of the window is critical to sealing and waterproofing the installation. Start by measuring the height of the vertical sides of the window and cutting pieces of flashing tape to fit. Make sure the tape overlaps with the sill flashing at the bottom to create a continuous water barrier.
Apply the flashing tape along each side of the window frame, pressing it firmly to create a tight seal. Pay close attention to ensure there are no gaps or wrinkles, as these can allow water to seep through. Always overlap the bottom edge of the tape first before moving upward to maintain proper water flow away from the window.
5: Flash the Top
The next step is to flash the top of the window to complete the waterproof barrier. Measure and cut a piece of flashing tape to fit the top edge of the window. Make sure it is wide enough to overlap the vertical flashing on both sides for seamless coverage.
Press the flashing tape firmly into place along the top of the window, making sure to smooth out any wrinkles or gaps as you go. Pay special attention to the corners, as these areas are more vulnerable to water infiltration. A thorough seal at the top prevents water from entering and protects the structure from potential damage.
6: Re-seal and Inspect
Finally, re-seal and inspect the entire installation to ensure everything is watertight. Apply a bead of exterior-grade sealant along the edges where the window meets the siding. This additional sealant provides extra protection and adds to the overall durability of the installation.
Take the time to inspect all flashing and seals for any gaps, wrinkles, or inconsistencies. If you notice any issues, fix them immediately to guarantee a complete and effective seal. A thorough inspection at this stage will help prevent potential problems down the line and ensure your window installation is long-lasting and reliable.
🏠 Common Flashing Mistakes to Avoid

Even a small mistake during the flashing process can have significant consequences. Here are key things you’ll want to avoid:
Skipping the Sill Flashing
One of the most common mistakes during window installation is skipping the sill flashing. A properly flashed sill is essential for preventing water from pooling at the bottom of your window frame. Without it, water can seep into the structure, leading to rot, mold, and costly damage over time. Always ensure your sill is flashed correctly to create a watertight barrier.
Failing to Overlap Layers Correctly
Flashing materials must be installed in a shingled pattern, meaning each layer overlaps the one below it. This ensures that water is directed downward and away from your home. If layers aren’t overlapped correctly, water can penetrate behind the flashing, defeating its purpose. Take the time to install flashing with precision to avoid potential leaks.
Using the Wrong Tape
Not all flashing tape is the same, and using the wrong type can compromise the effectiveness of your window installation. It’s crucial to check if the tape you’re using is compatible with your house wrap and other materials. Additionally, ensure the tape adheres properly and maintains its grip over time, especially in extreme weather conditions.
Neglecting Inspection
After installing flashing, it’s important to inspect your work thoroughly. Pay close attention to problem areas, such as corners, where gaps are more likely to occur. Even small gaps can allow water to enter, leading to major issues later on. A quick post-installation check can save you from significant repairs down the line.
👉 Window Flashing Guide
Flashing a window is a critical step in protecting your home from water damage and ensuring long-lasting performance. While it’s possible to handle this task on your own, trusting the experts can save you time, money, and unnecessary headaches. At Louisville Window Company, we bring unmatched expertise, high-quality products, and a focus on energy efficiency to every project.
Our team is dedicated to delivering flawless workmanship and exceptional customer service, so you can rest easy knowing your home is in the best hands. Ready to upgrade your windows or need help with flashing? Contact us today for a free estimate and let us help you protect your home with confidence!