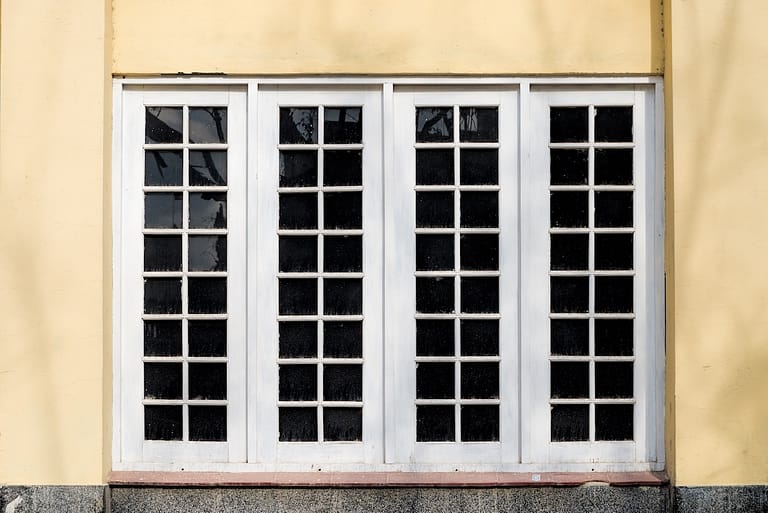
A broken window frame can cause more than just an aesthetic concern. It compromises your home’s insulation, security, and overall functionality. Whether it’s due to age, weather damage, or an unfortunate accident, repairing a broken window frame promptly is essential to maintaining your home’s safety and comfort. This blog will guide you through:
- How to identify the damage to your window frame
- Understanding the risks of leaving it unrepaired
- A step-by-step guide on repairing your broken window frame
🤔 How to Identify Damage to Your Window Frame
Before jumping into repairs, it’s important to thoroughly assess the condition of your window frame. Catching damage early can save you time and money while preventing further issues. Window frames can deteriorate for various reasons, such as weather exposure, improper sealing, or regular wear and tear. Different types of damage require different solutions, so understanding the problem is the first step.
Look for These Signs of Damage:
- Visible cracks or splits in the frame material, whether wood, vinyl, or aluminum.
- Drafts or air leaks near the window, indicating potential gaps.
- Difficulty opening or closing the window smoothly.
- Signs of rotting or warping, particularly in wooden frames.
- Water damage or mold, often caused by poor sealing or weather exposure.
✅ 6 Steps How to Repair a Broken Window Frame
If you’re ready to tackle the issue yourself, follow this six-step guide to repair your broken window frame. This guide works best for wooden window frames and minor issues. For serious or complex damages, professional help is recommended.
1. Gather Your Tools and Materials
Before you begin the repair process, it’s essential to gather all the tools and materials you’ll need. Having everything on hand will save you time and ensure a smoother workflow. You’ll need sandpaper or a sanding block to smooth surfaces, wood filler or epoxy resin to fill in the damaged areas, and a putty knife for applying the filler. Make sure you also have paint or a wood finish that matches the frame to ensure the repair blends seamlessly with the original look. Don’t forget to wear protective gloves and safety goggles to keep yourself safe while working.
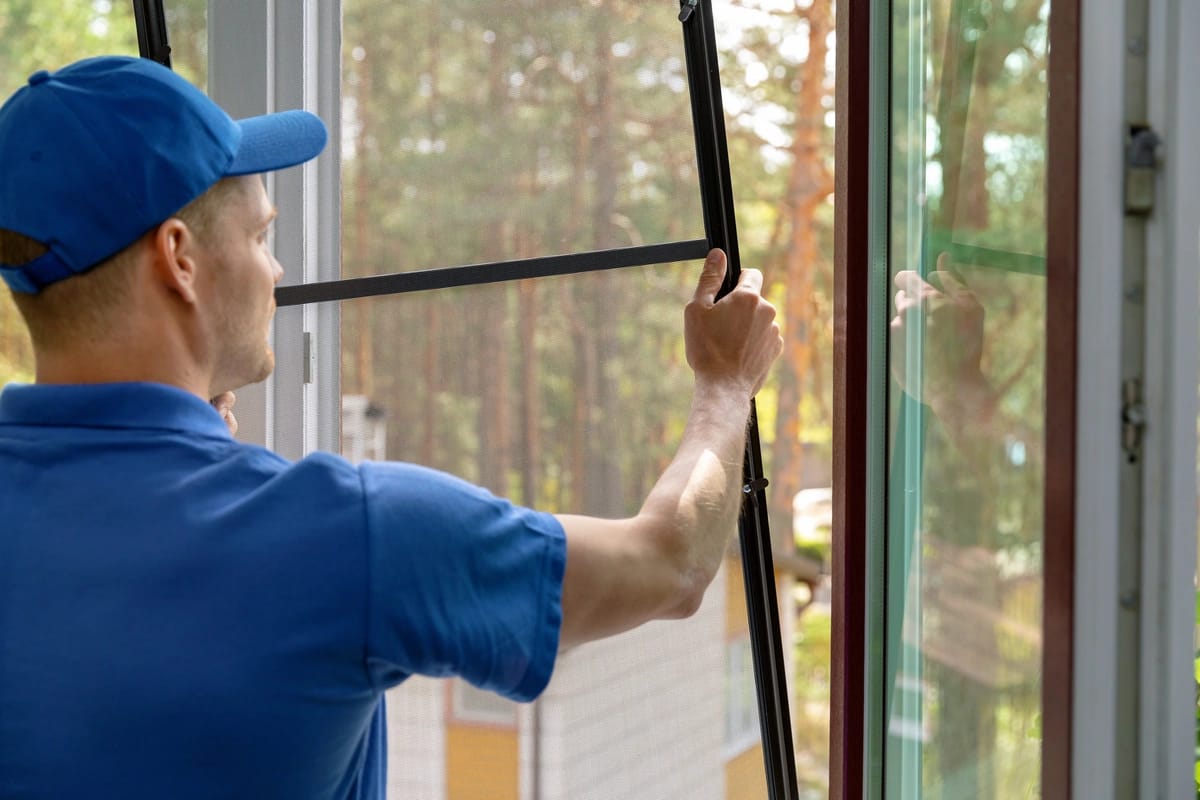
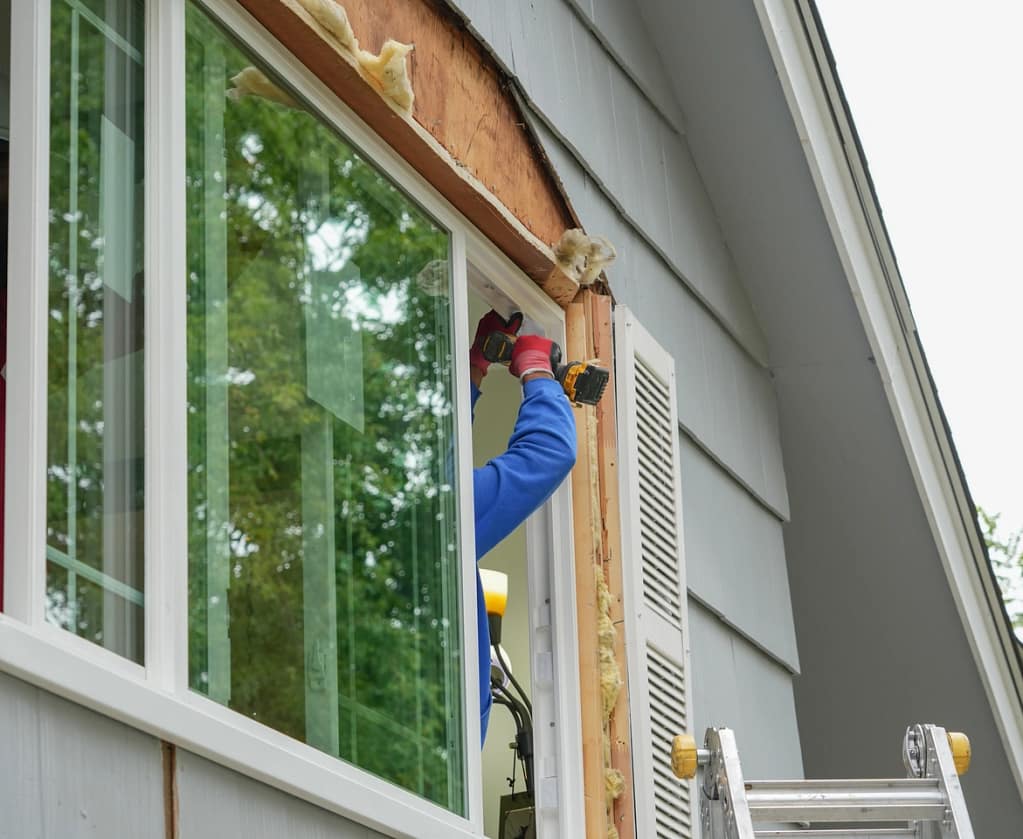
2. Remove the Damaged Area
Start by assessing the damaged area of the frame and identifying any loose paint, splinters, or mold. Use sandpaper or a putty knife to carefully scrape away these loose materials. This step ensures that the surface is clean and stable for repair. If the damage is more severe, you may need to use a small saw to cut away any compromised sections of wood. Take your time during this step to ensure that all weak or damaged material is completely removed, leaving a solid foundation for the repair process.
3. Clean the Frame Thoroughly
Once the damaged area has been cleared, it’s important to clean the frame thoroughly. Use a damp cloth to wipe down the surface, removing any dust, debris, or residue left from the sanding and scraping process. Cleaning ensures that the wood filler or epoxy will adhere properly to the surface. After wiping it down, allow the frame to dry completely. Any moisture left on the surface could interfere with the repair, so it’s crucial not to rush this step.
4. Apply Wood Filler or Epoxy Resin
With the area clean and dry, it’s time to apply the wood filler or epoxy resin to the damaged section. Use a putty knife to fill the area, spreading the filler evenly and smoothing it out. For deeper damage, it’s best to apply the filler in layers, allowing each layer to dry fully before adding more. This approach helps to strengthen the repair and ensures a solid, durable surface. Take your time to smooth out the filler, as this will make the sanding process easier later on.
5. Sand and Prep
After the wood filler or epoxy has dried completely, the next step is to sand the repaired area. Use sandpaper or a sanding block to smooth the surface until it is flush with the rest of the frame. The goal is to make the repaired section blend seamlessly with the surrounding wood. Once sanding is complete, clean off any residue or dust created during the process. This ensures that the surface is fully prepped and ready for painting or finishing.
6. Paint and Finish
The final step is to apply paint or a wood finish to match the original frame. Choose a color or finish that blends well for a seamless appearance. Begin by applying a thin coat of paint or finish and allow it to dry completely before adding additional coats. Depending on the look you’re going for, you may need multiple coats to achieve the desired result. Be patient during this step, allowing each layer to dry fully before applying the next one. Once the painting is finished, your frame should look as good as new, with no visible signs of damage.
👉 Risks of Ignoring a Broken Window Frame
Leaving a broken window frame unrepaired may seem like a minor issue, but it can lead to significant challenges for homeowners.
Energy Inefficiency
Cracks and gaps in your door or window frames can allow drafts to enter your home, making it harder to maintain a consistent indoor temperature. This forces your HVAC system to work overtime, leading to higher energy consumption and inflated utility bills. Over time, this inefficiency not only costs you more but also puts unnecessary strain on your heating and cooling systems.
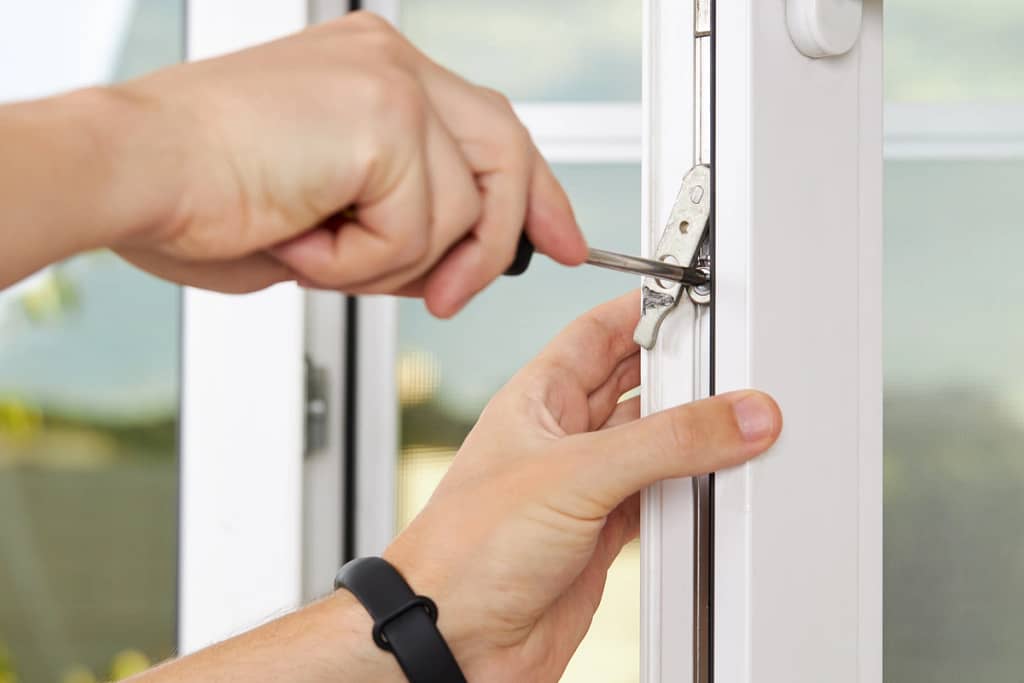
Compromised Security
A weak or damaged frame reduces the structural integrity of your doors and windows, making them easier for intruders to force open. This creates a serious security risk for your home and family. Repairing or replacing these frames is crucial to keeping your home safe and secure from potential break-ins.
Water Damage
When frames are damaged, they can allow moisture to seep in during rain or high humidity. Over time, this can lead to mold growth, rotting wood, and even structural damage to your home. Addressing these issues early can prevent costly repairs and protect the long-term health of your living space.
Pest Infestation
Gaps and cracks in your frames are like open invitations for pests such as insects and rodents. These unwanted visitors can not only damage your property but also pose health risks for your family. Sealing these entry points is essential to keeping your home pest-free.
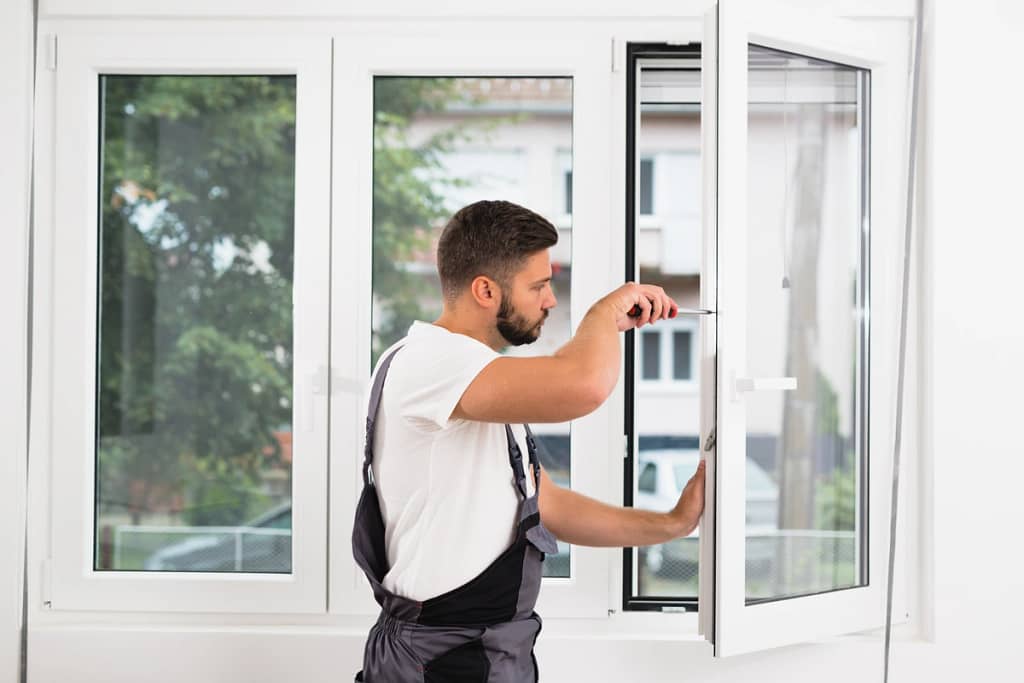
🏡 Window Frame Repair
When it comes to repairing or replacing a broken window frame, choosing the right team makes all the difference. At Louisville Window Company, we combine expert craftsmanship, top-quality products, and unmatched customer care to deliver results you can rely on. With partnerships with trusted brands like Simonton and Pella and a commitment to precision on every project, we’ve earned the trust of homeowners across Kentucky.
Don’t let a damaged window frame compromise your home’s safety or energy efficiency—contact Louisville Window Company today for a consultation and let us help you restore your home’s beauty and security!